MobileClient
MobileClient is a native smartphone application that allows you to control the FrontStage workplace using your phone. It provides voice services and basic system functions, such as switching agent statuses, viewing call data, simple daily statistics, and more.
Important
The description and screenshots are based on the Android application. The iOS application differs only slightly, and the functionality is identical.
Installation
The application can be found in both the “App Store” (iOS) and the “Google Play Store” (Android) under the name “FrontStage MC.” Start the installation from your mobile store.
Initial Setup
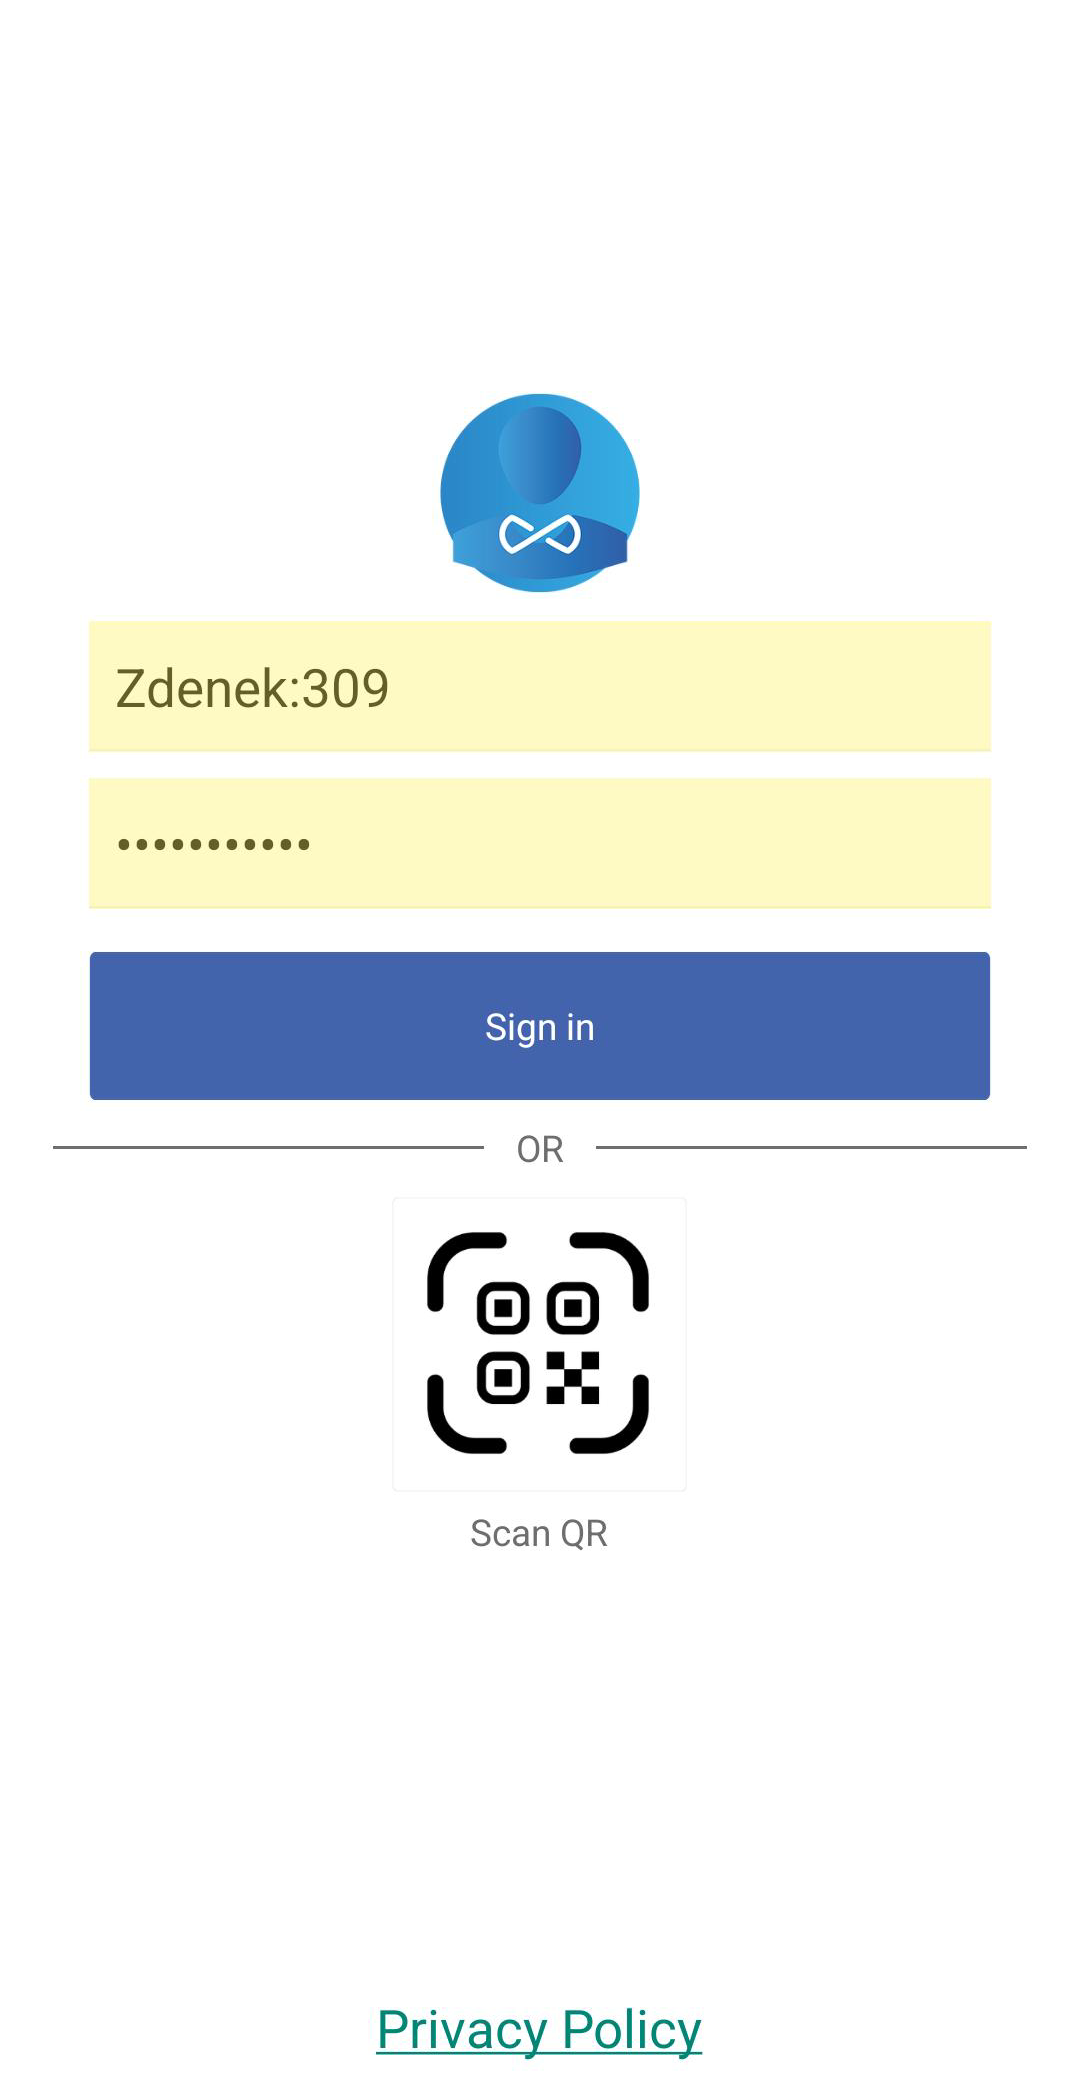
When you first launch the app, you will be prompted to enter login credentials for the voice channel. These credentials will be provided by the system administrator.
After successful login, you will be prompted to grant system-level permissions. These are essential for the proper functioning of the application, and it may not work without them. These include permissions for displaying notifications, handling calls, and more.
After setting all permissions, the application window will appear, prompting you to log in to the FrontStage system.
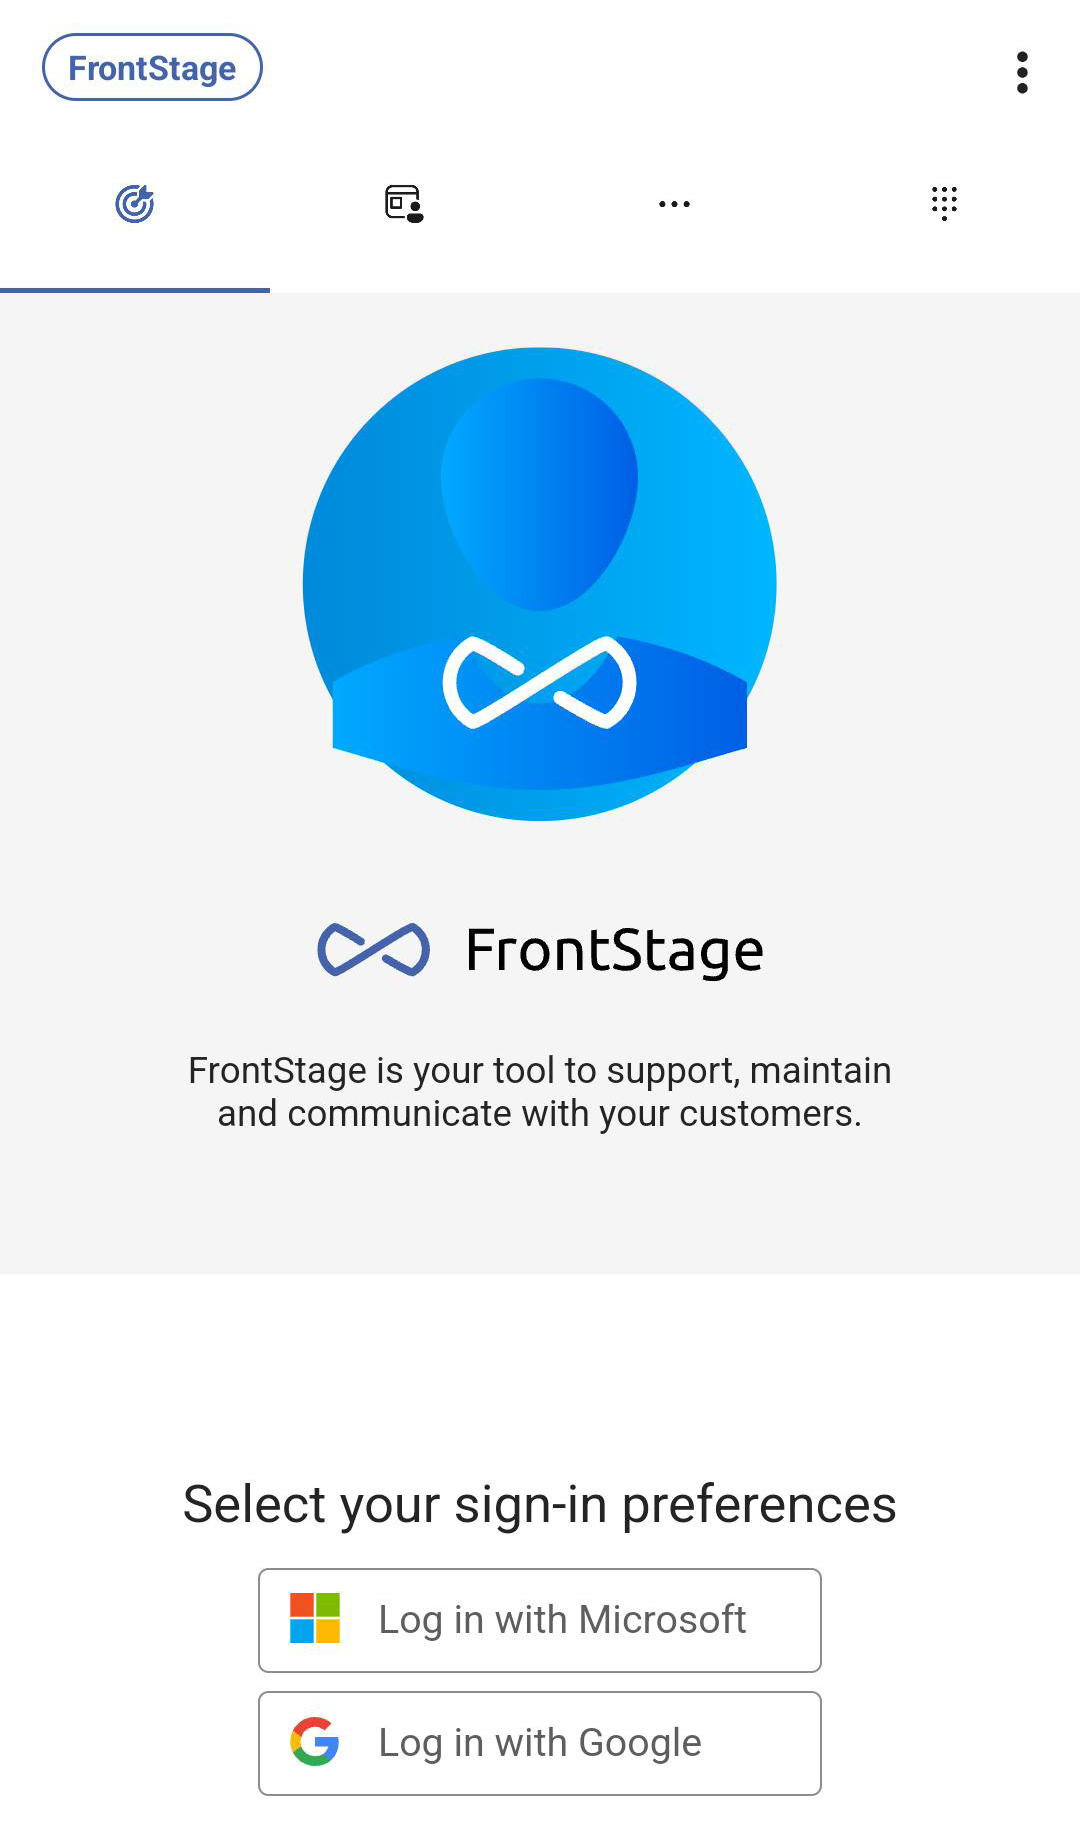
Use the same login credentials here that you use for the web application in your browser.
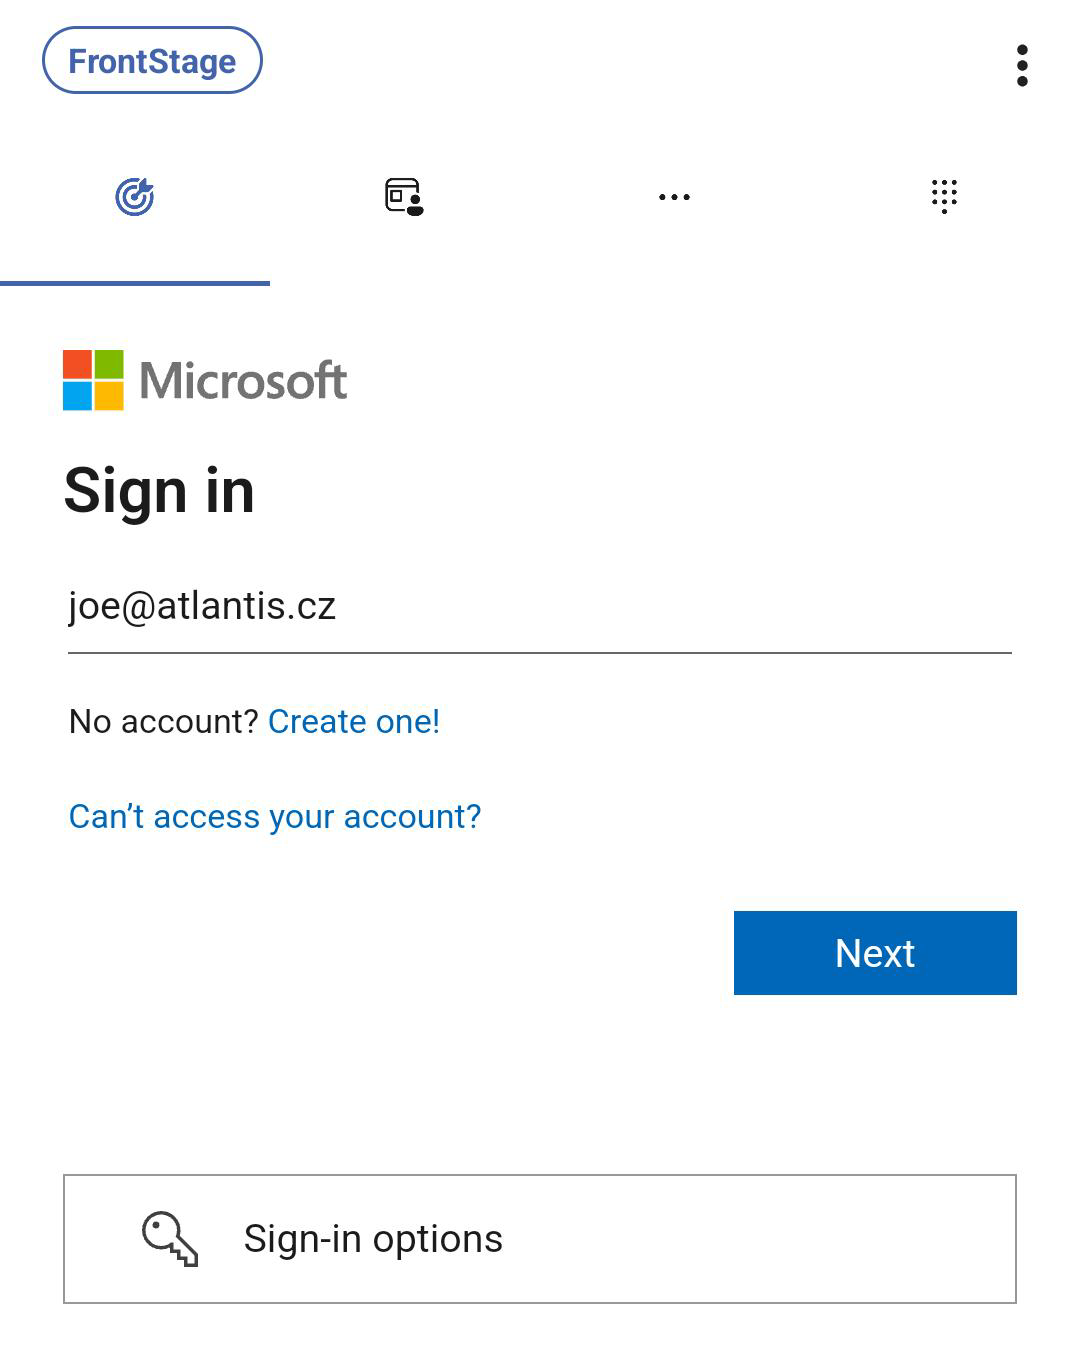
The application is now ready to use.
Application Layout
Basic application layout:
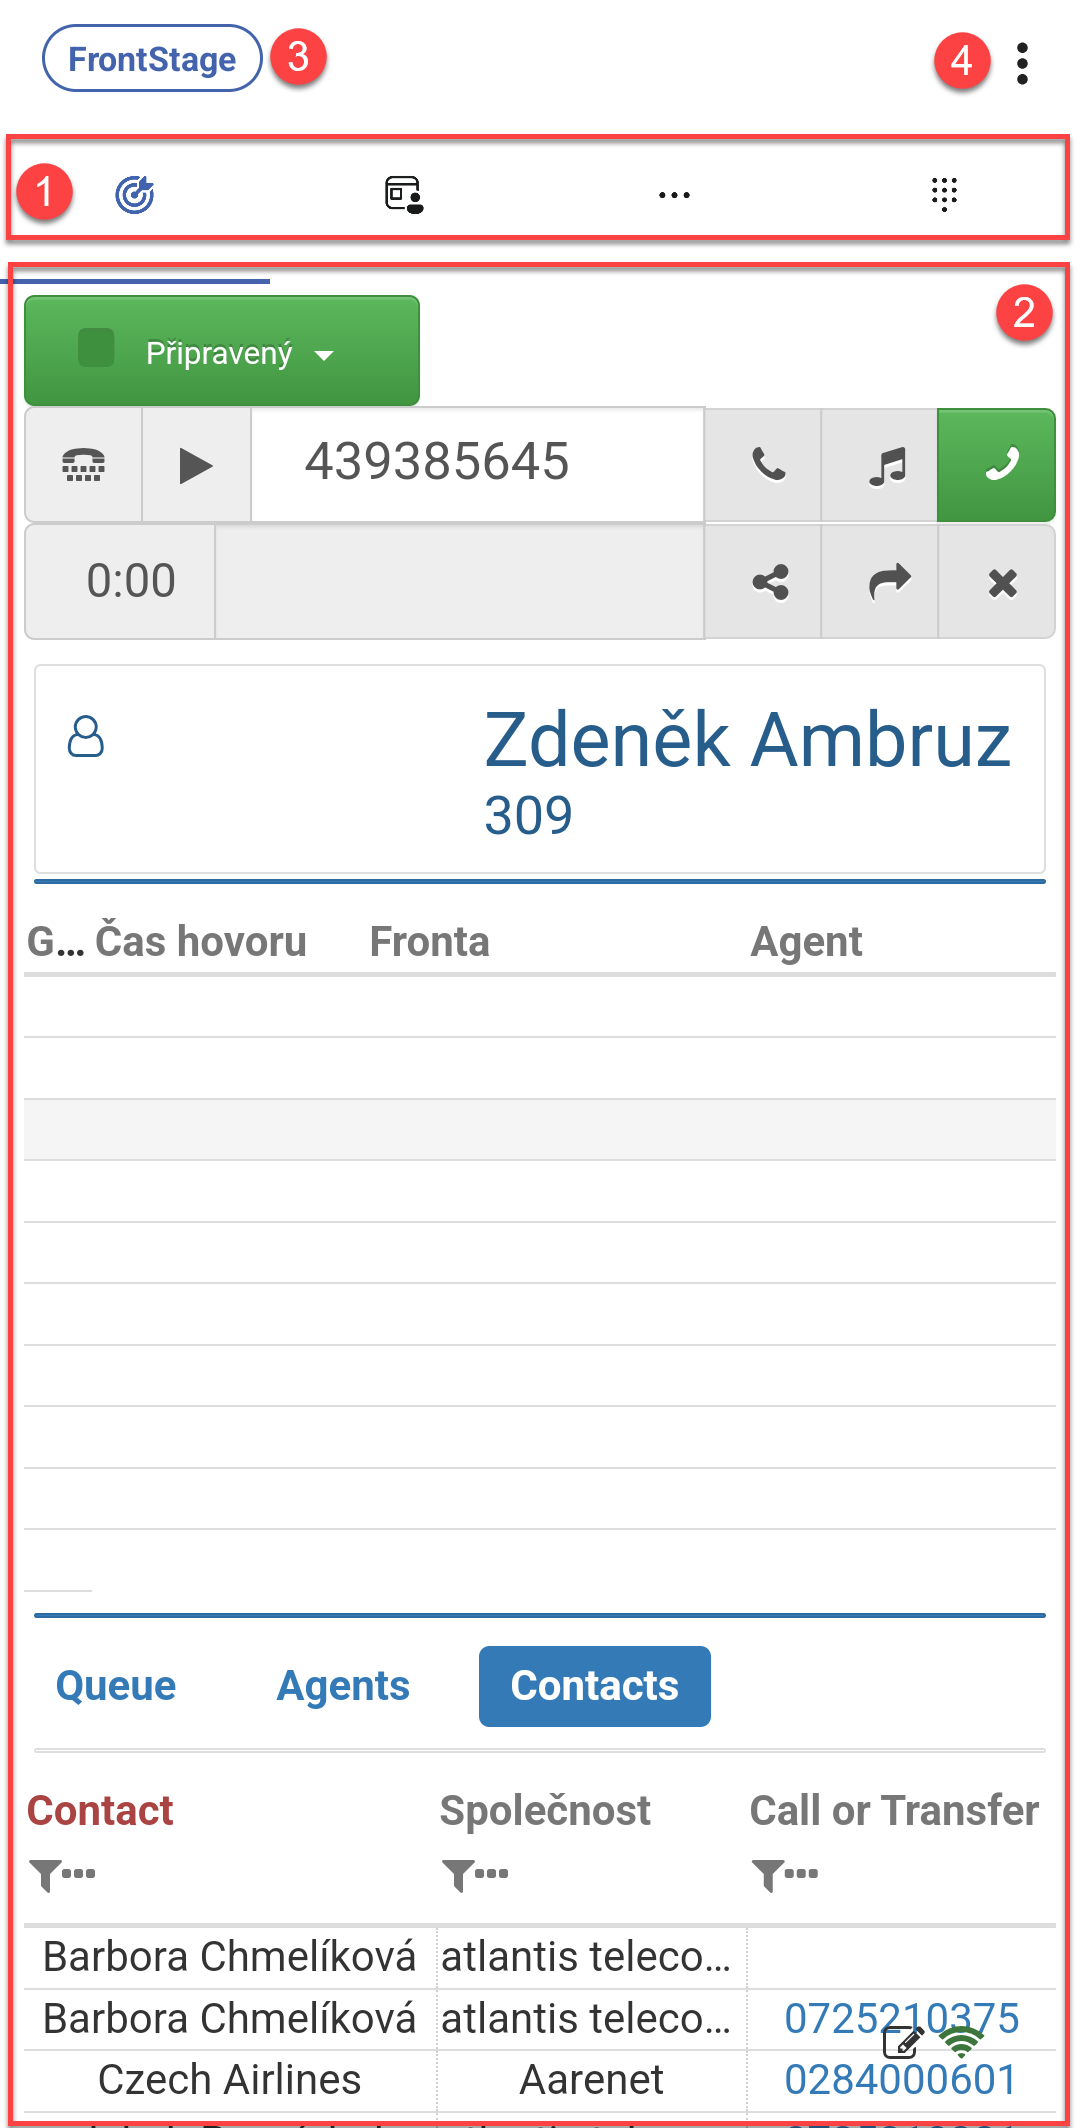
[1] - Application tabs. Click on a tab icon to switch views.
[2] - Content of the current tab.
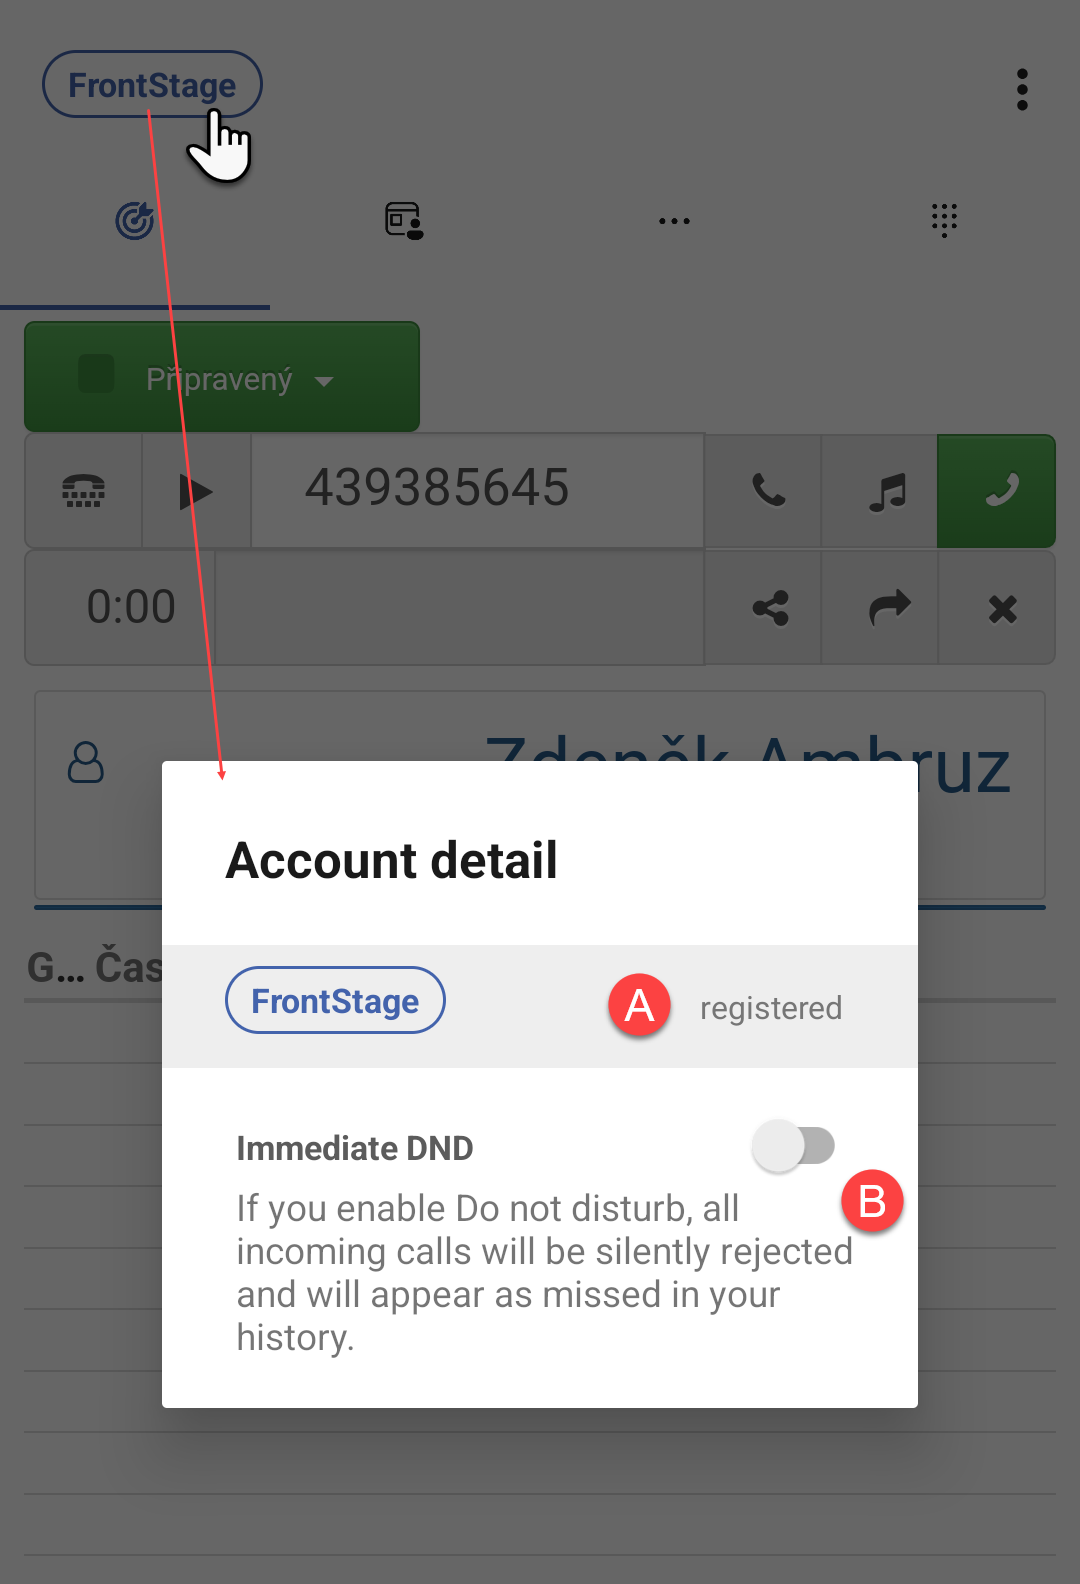
[3] - Account details. Includes an indicator showing whether your mobile workplace is successfully connected to the PBX [A] and a toggle for “Do Not Disturb” mode [B].
[4] - Action menu, which allows you to access application settings from the phone’s perspective and refresh the data displayed on the tab.
The application can be used in two standard modes: the “lightweight version,” which is designed solely for handling calls, and the “full version,” which includes features such as viewing available agents, displaying FrontStage contacts, viewing call statistics, and more. The differences are reflected in the content of individual tabs.
Note
As a user, you cannot influence this mode. It is configured by the system administrator, and the set version will load for you.
Full Version
Main Tab
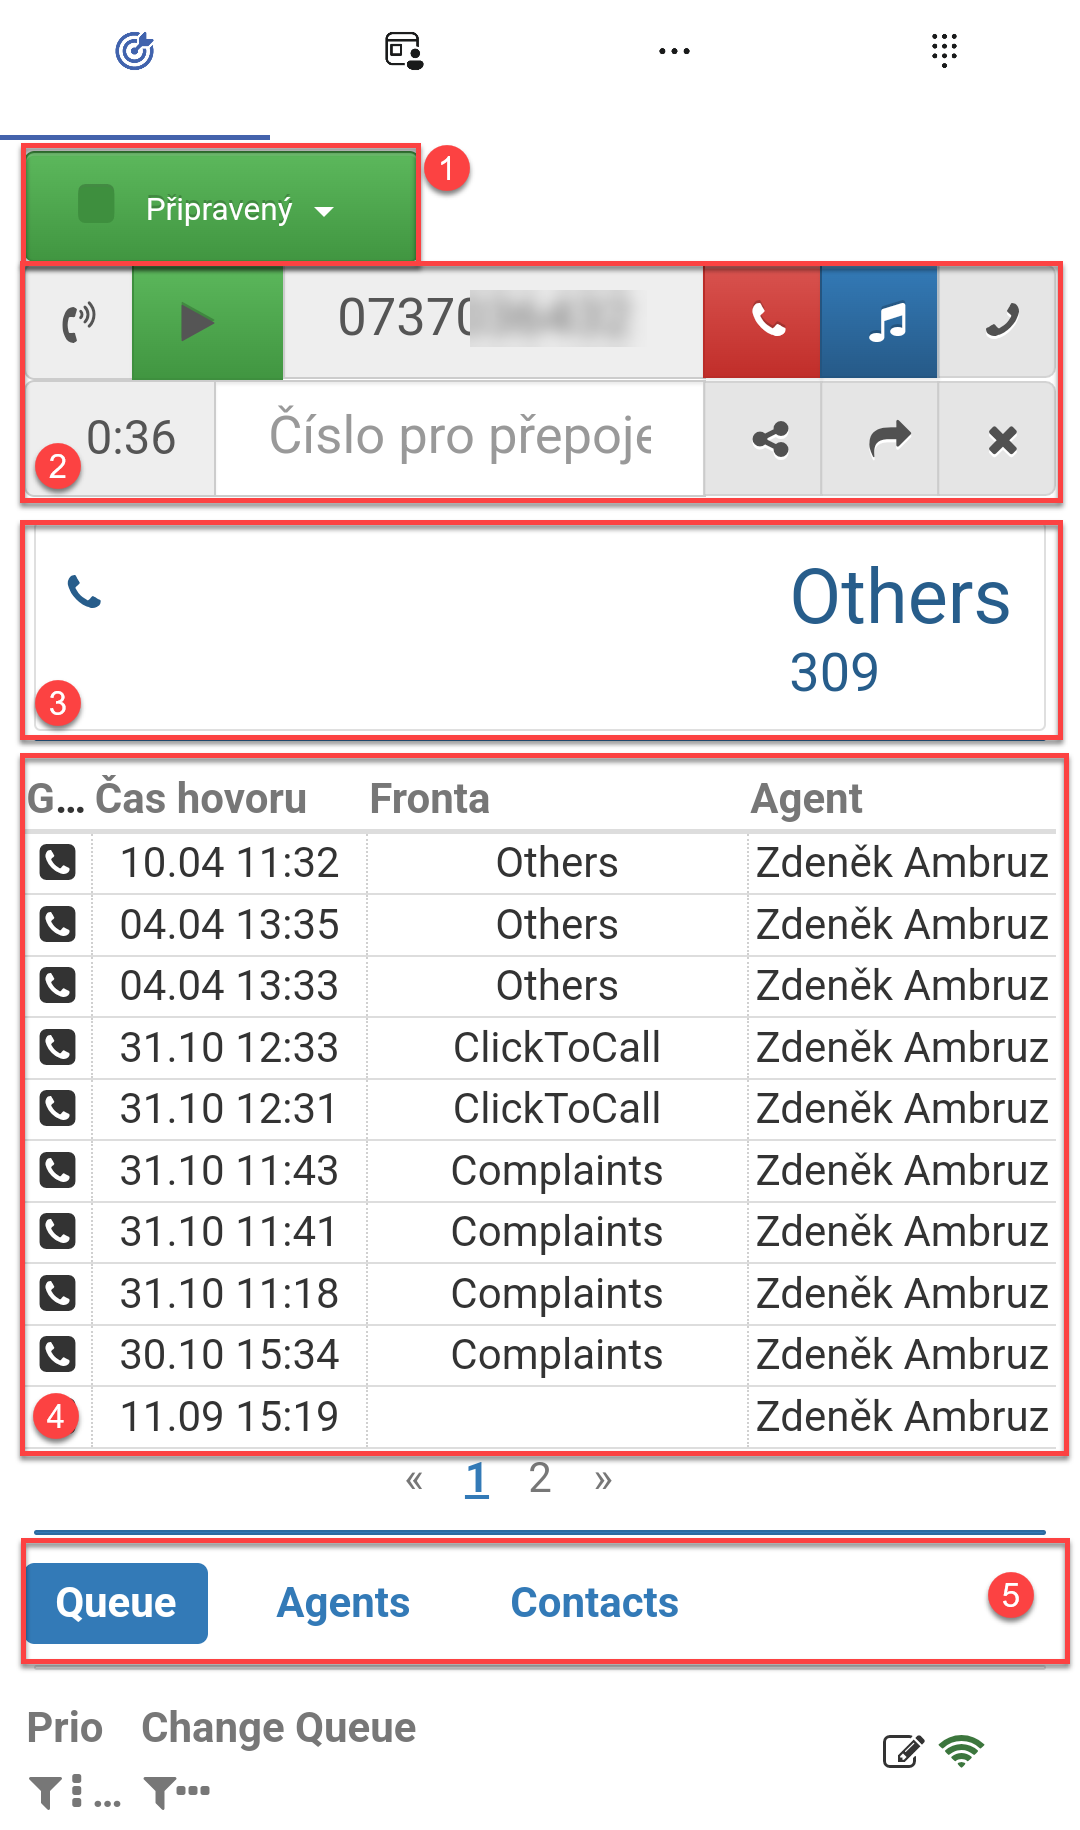
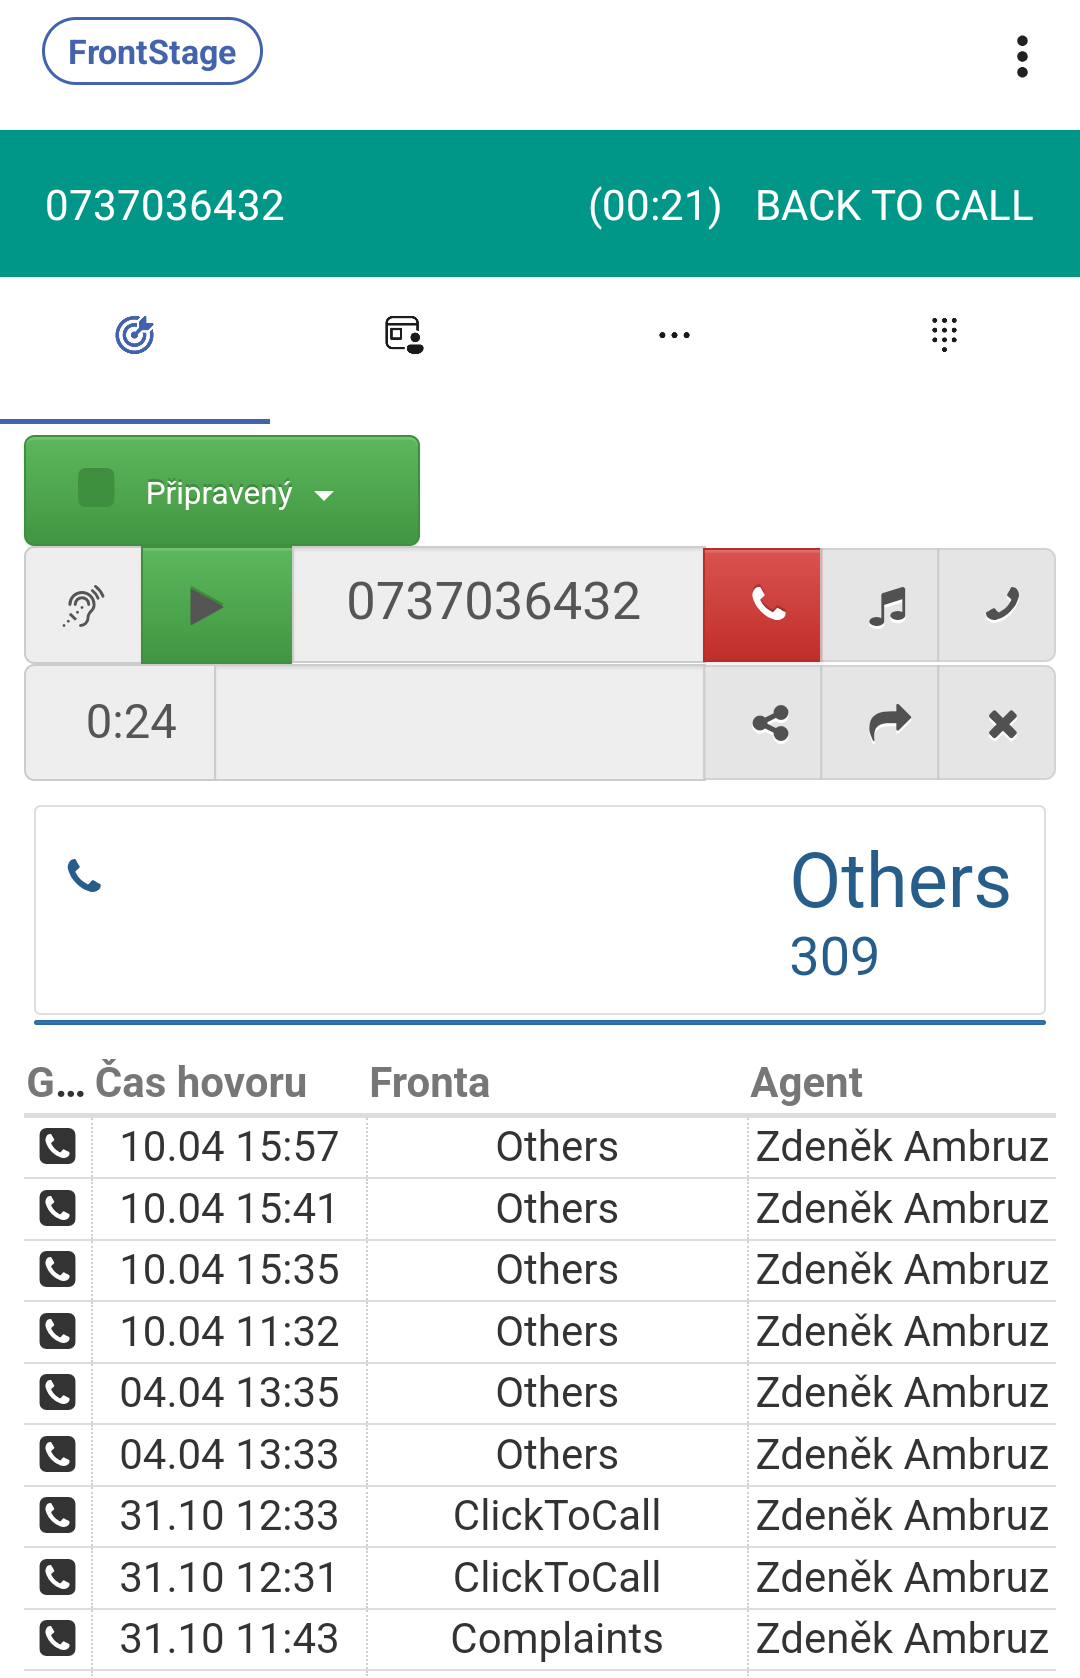
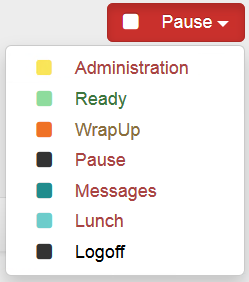
[1] - Use the status change button to manage your current status. Typically, you will find statuses here for most call center agent activities, such as when you are unavailable for handling calls (“Lunch,” “Break,” “Training,” etc.) and ready statuses (usually named “Ready”).
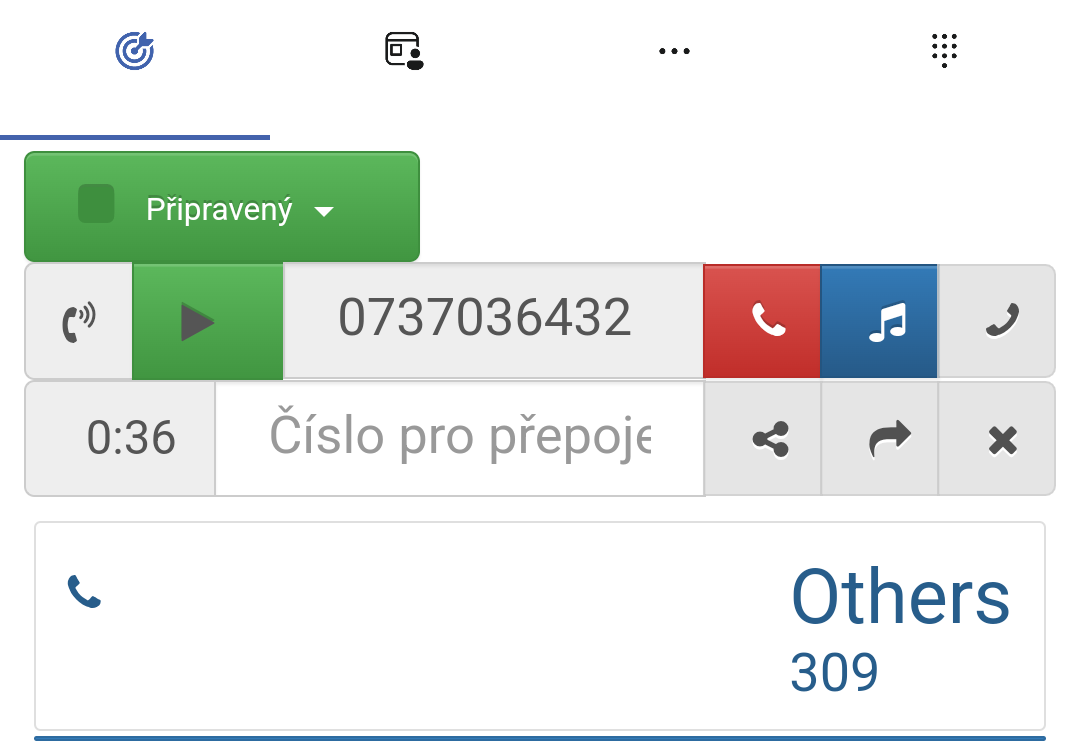
[2] - Call bar for receiving, dialing, and managing calls.

Meaning of individual parts:
[1] Indicates ringing for an incoming call, dialing an outgoing call, or an ongoing call.
[2] Displays the phone number for an incoming call or allows you to enter a phone number for an outgoing call.
[3] Hang up.
[4] Put on hold (with music).
[5] Call/pick up the call.
[6] Call duration.
[7] Enter a number for consultation or transfer.
[8] Dial a second call and start a consultation.
[9] Transfer the call to another number—either directly without consultation or as the next step in the consultation.
[10] End the second call (consultation) and return to the original call.
[11] Turn call recording on/off.
Note
For additional practical information, you can also read the articles Inbound Calls and Outbound Calls.
[3] - Current workplace information. Outside of a call, the logged-in agent’s name and workplace number are displayed. During a call, the name of the queue to which the call was assigned is shown.
[4] - Customer communication history. Data will be displayed if a call is in progress and there has been previous communication with this number.
[5] - Sub-tabs:
“Queue” - List of available queues in the system. If you click on one during an ongoing call, the call will be distributed to that queue, and it will end for you.
“Agents” - List of currently logged-in agents and their statuses.
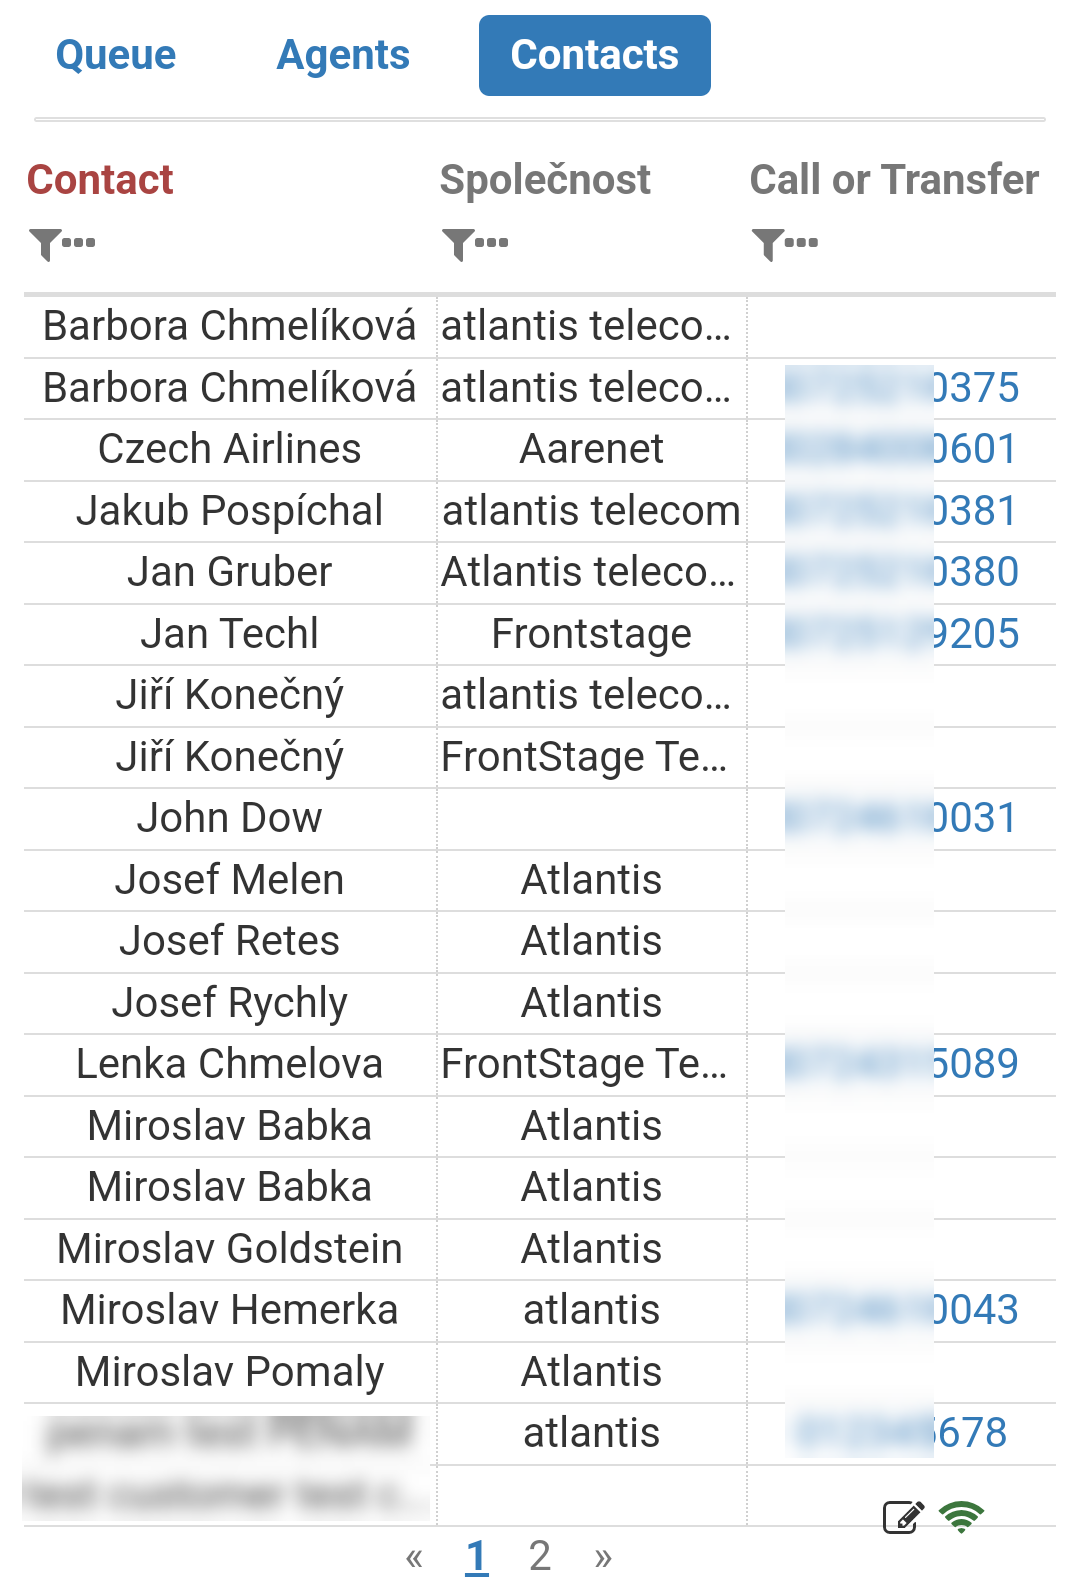
“Contacts” - Available contacts within FrontStage. If no call is in progress, clicking on a phone number will initiate a call. If a call is already in progress, clicking on the phone number will attempt to transfer the call to this contact.
Calls Tab
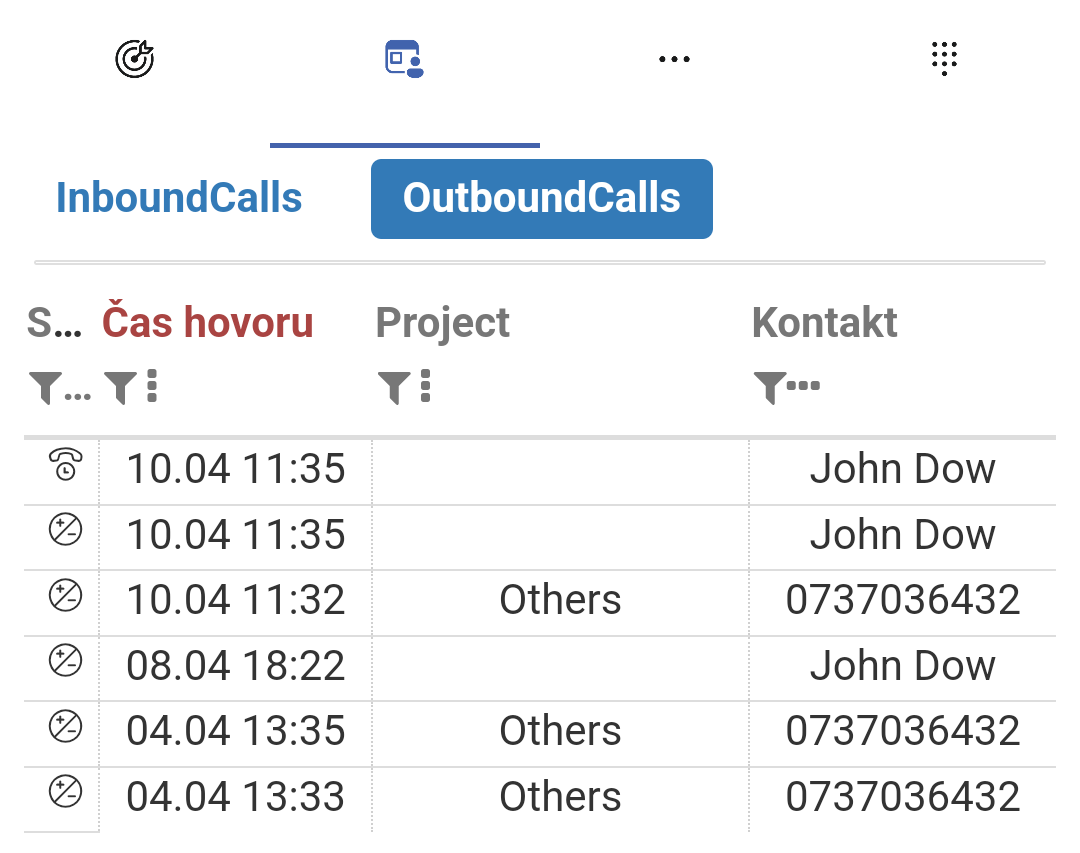
Contains a breakdown of incoming and outgoing calls you have made during the day. Each category has its own sub-tab where details of specific calls are displayed.
Statistics Tab
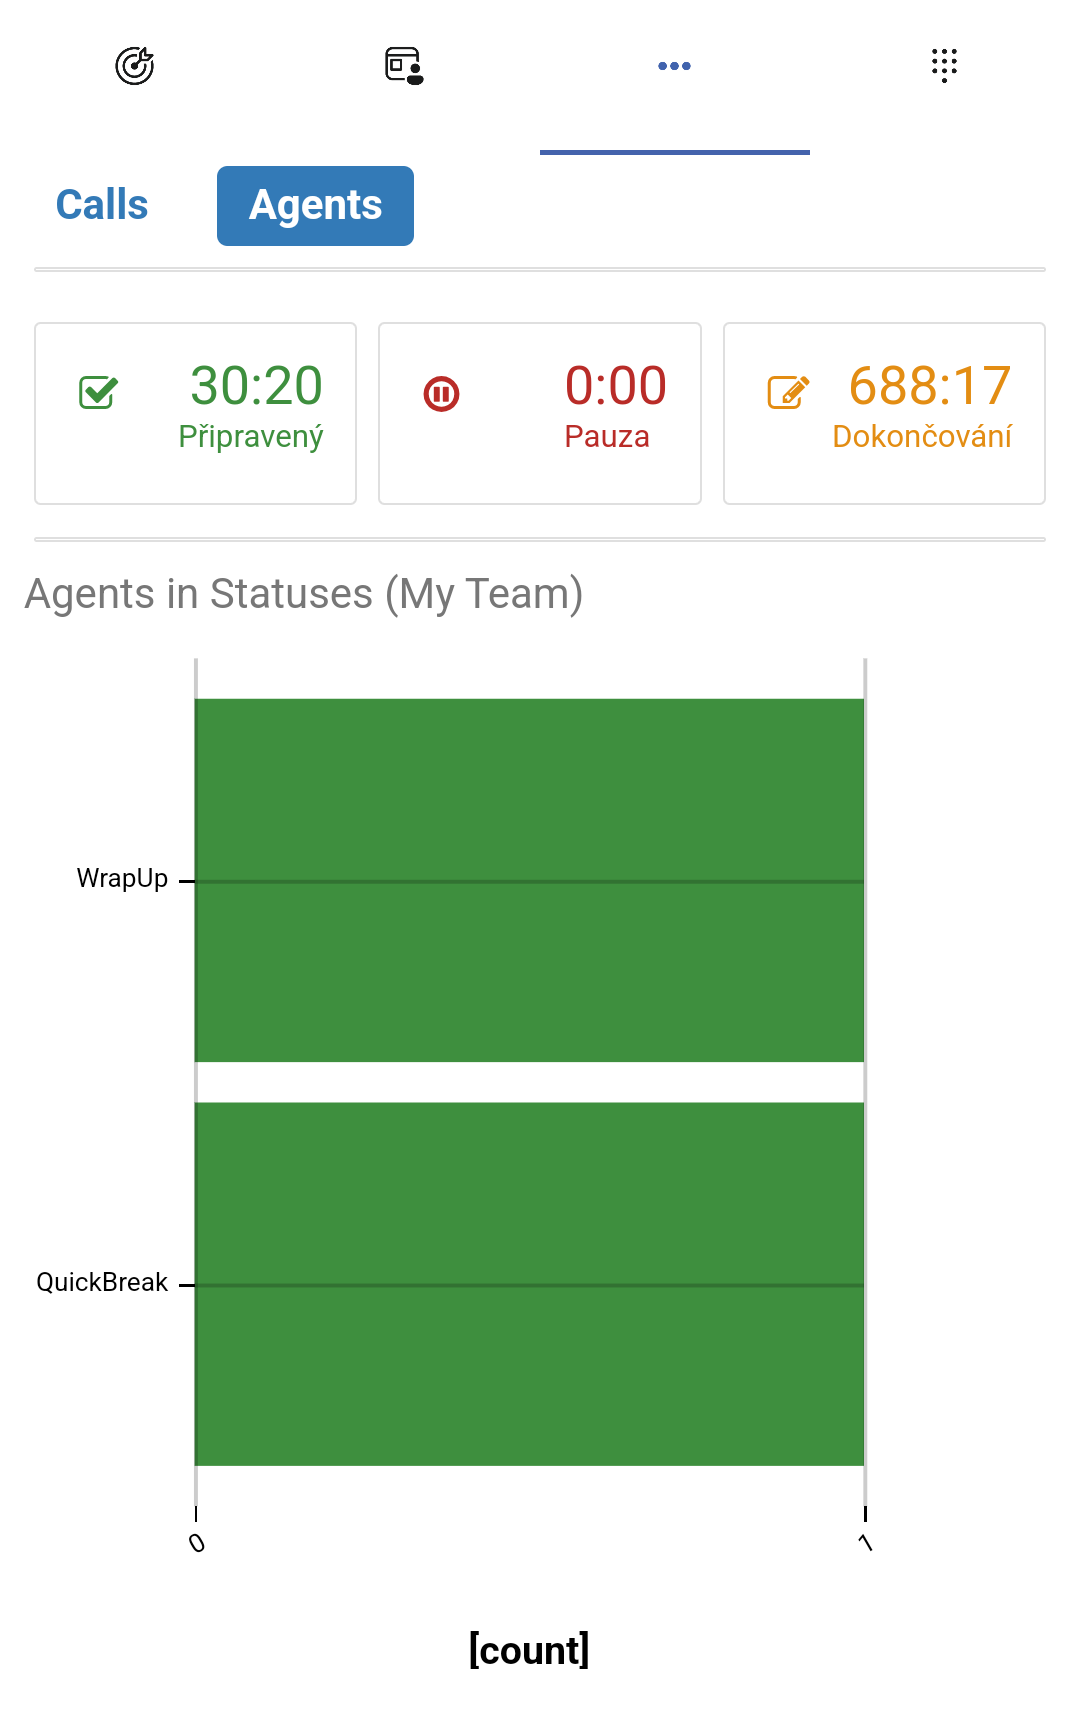
Contains your daily statistics, grouped into thematic categories.
Sub-tab “Calls” - Number of incoming/outgoing calls made during the day. Call waiting statistics.
Sub-tab “Agents” - Breakdown of how much time you spent in Ready/Break/Wrap-up statuses. Graphical representation of current statuses across your team.
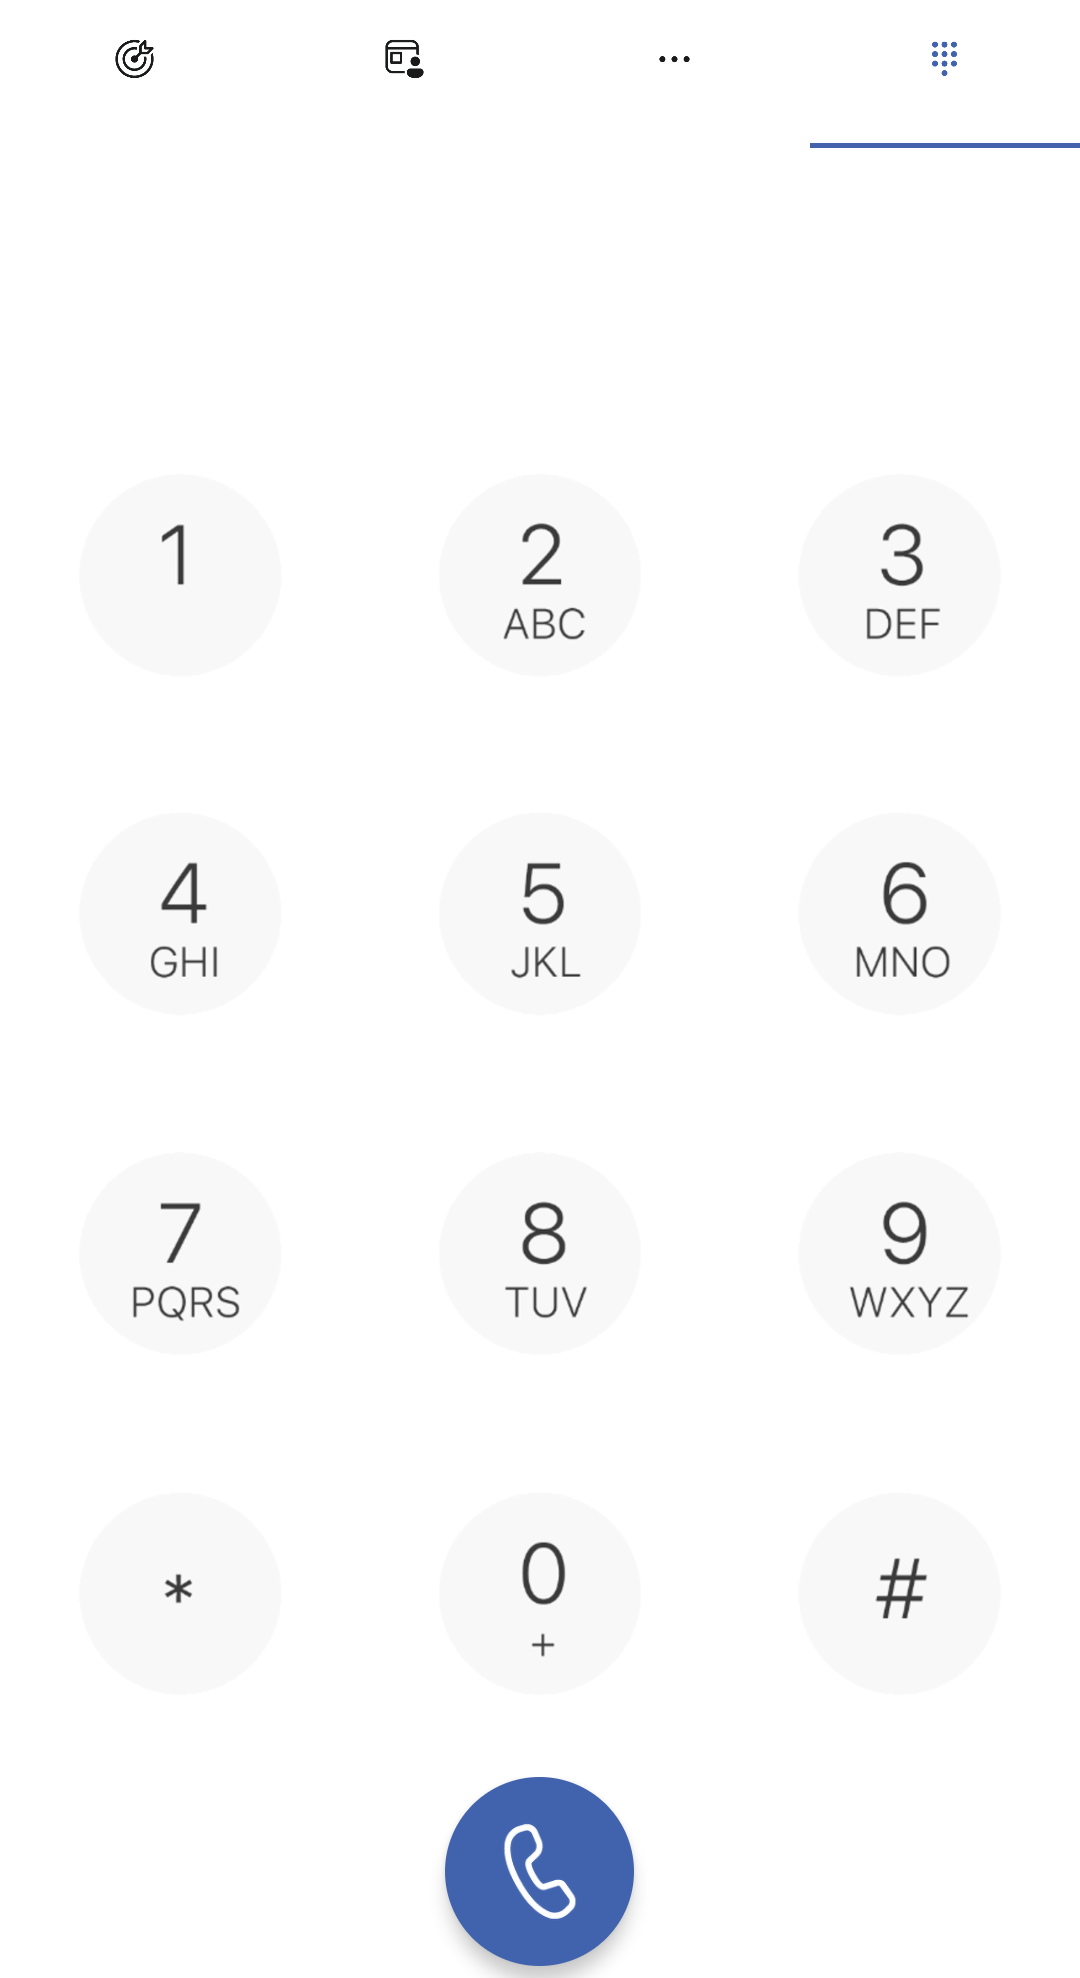
Softphone Tab
To enable the application to provide voice services through the FrontStage system, it must be connected in the background to the PBX using a SIP softphone, which you logged into during the initial setup step.
You can also use this softphone independently, but only for calls not logged in the FrontStage system.
If you use the dial pad on this tab to make a call, you will appear to the recipient as calling from the FrontStage contact center number, but the system will not log or manage this call in any way. Therefore, to make a call logged by the system, use the call bar on the main tab.
Lightweight Version
Designed solely for handling calls, it contains only the elements necessary for this purpose. Functionally, these elements are the same as in the full version.
Voice Channel Handling
Here we provide an example of how to handle the voice channel so that the call is properly processed by the system.
Note
To make calls, you must be in a status that allows their processing.
Outgoing Call:
In the call bar, enter the number of the recipient and press the call button.
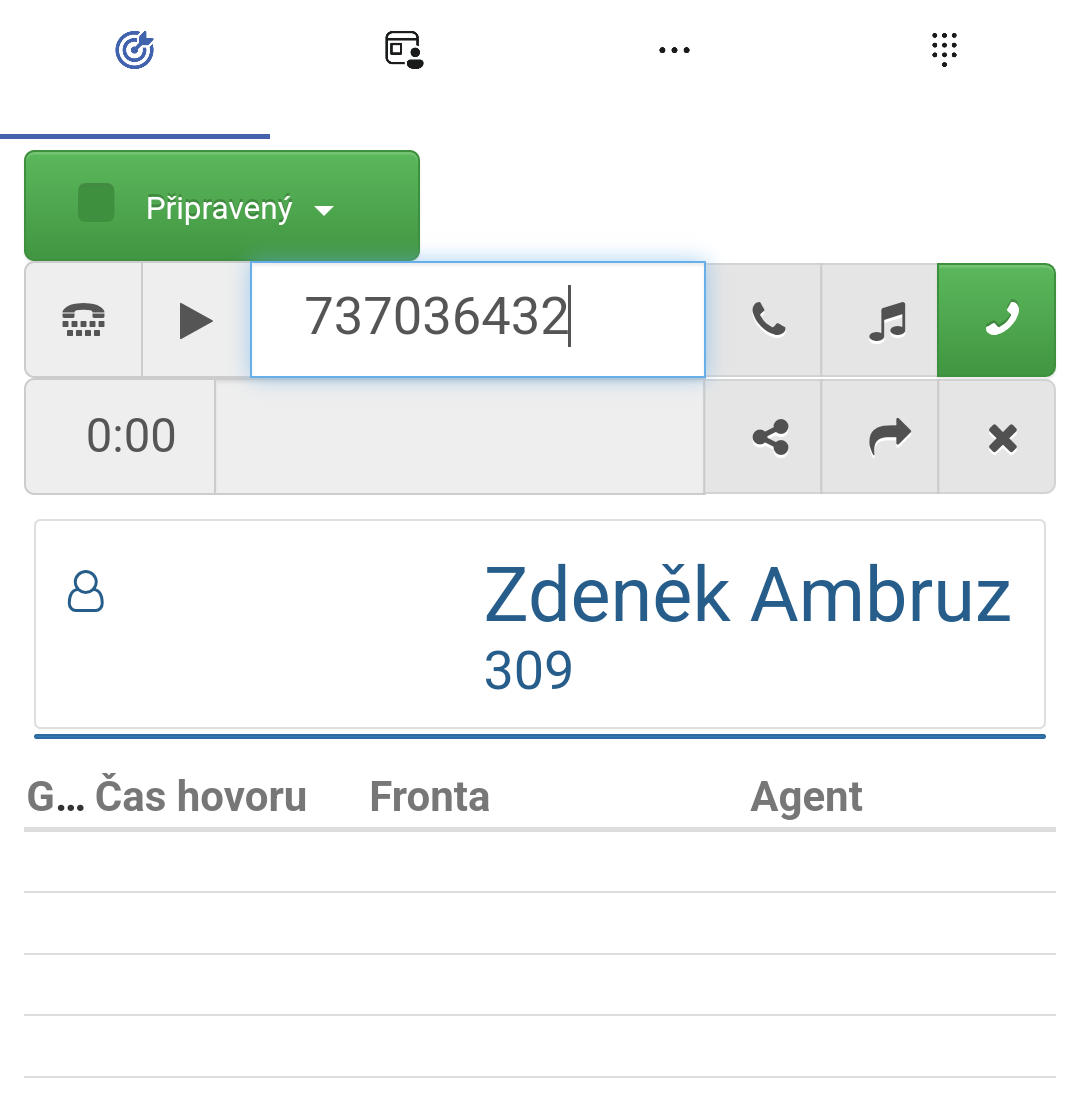
A SIP softphone window will appear, offering you the option to dial the call. The call is not yet directed to the customer; you must first accept it.
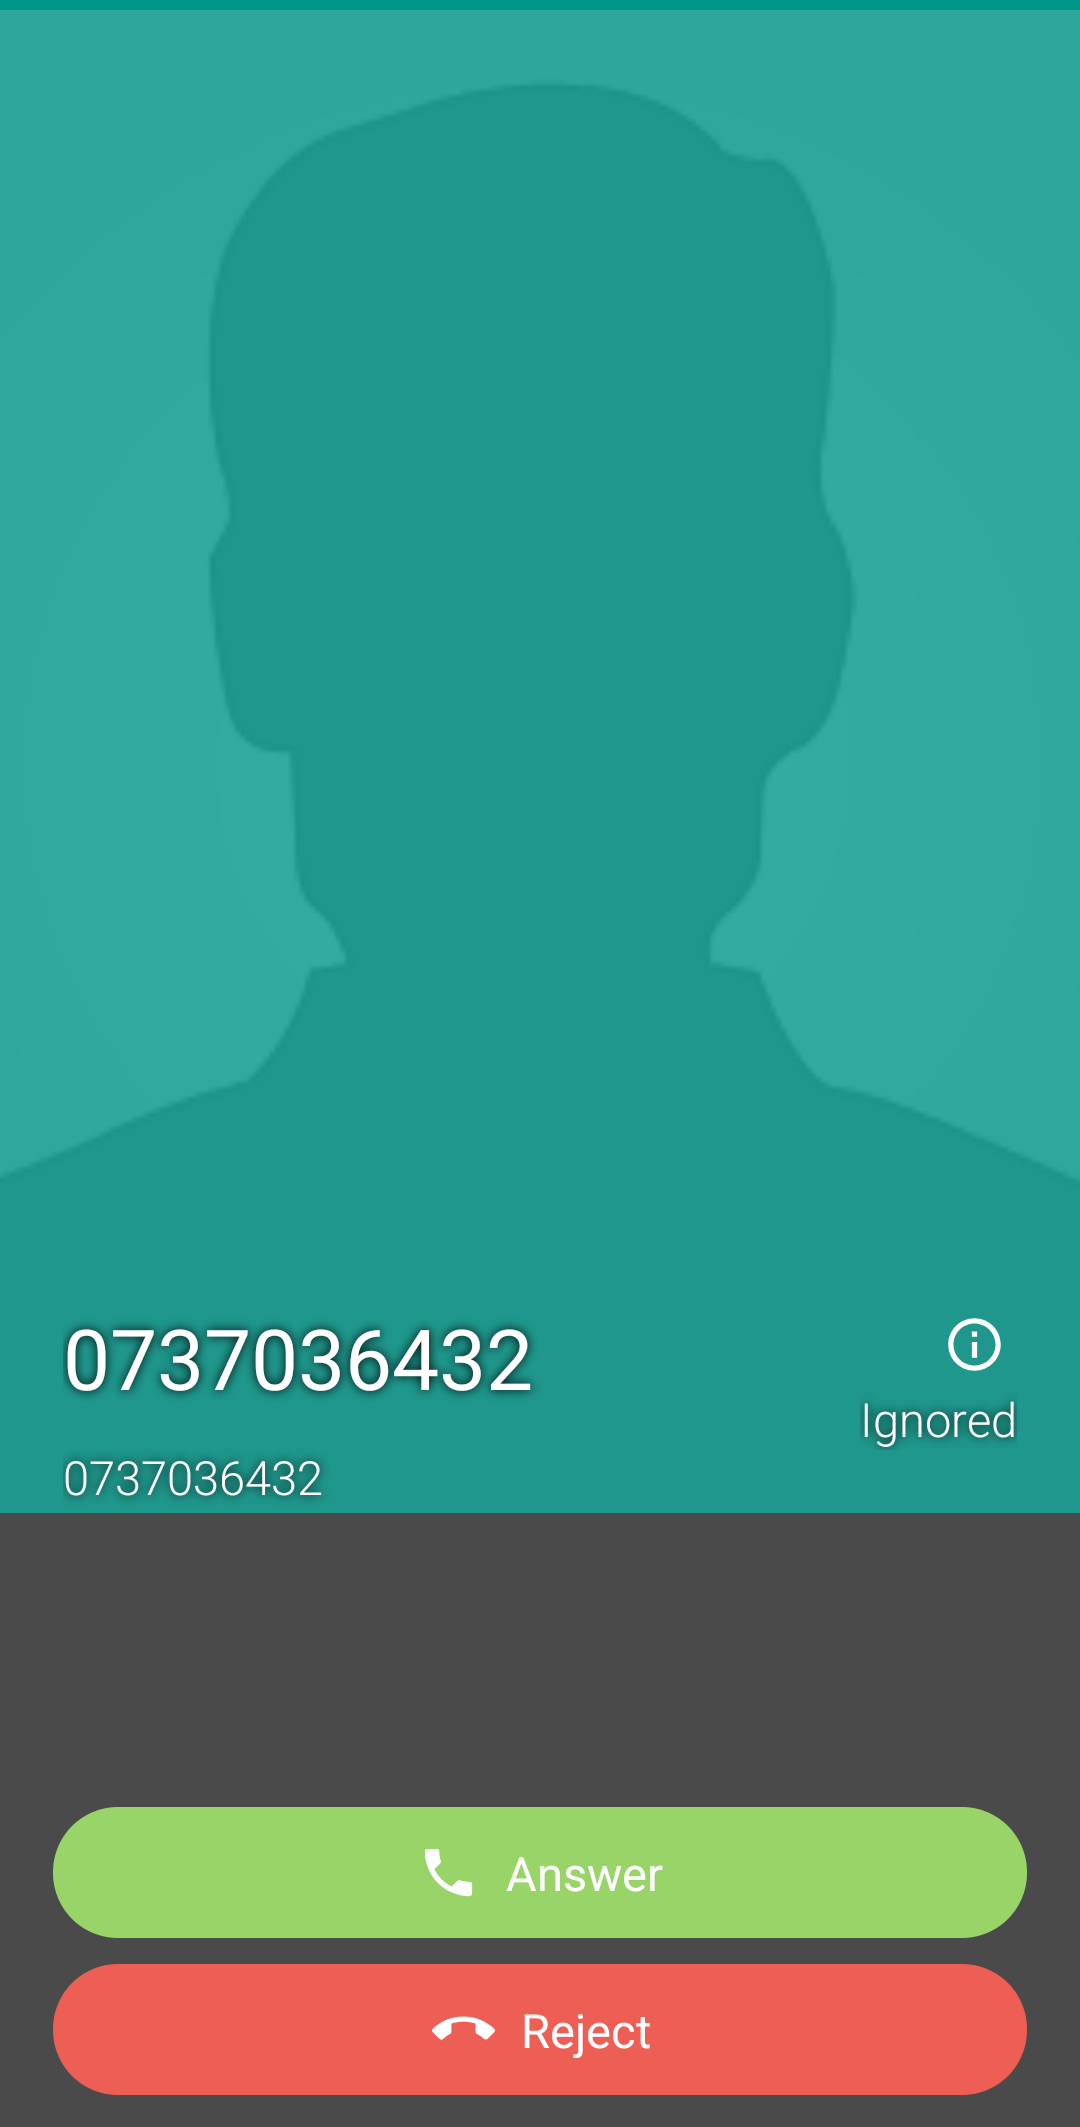
At this step, the call is actually being dialed to the customer, and you are waiting for the connection.
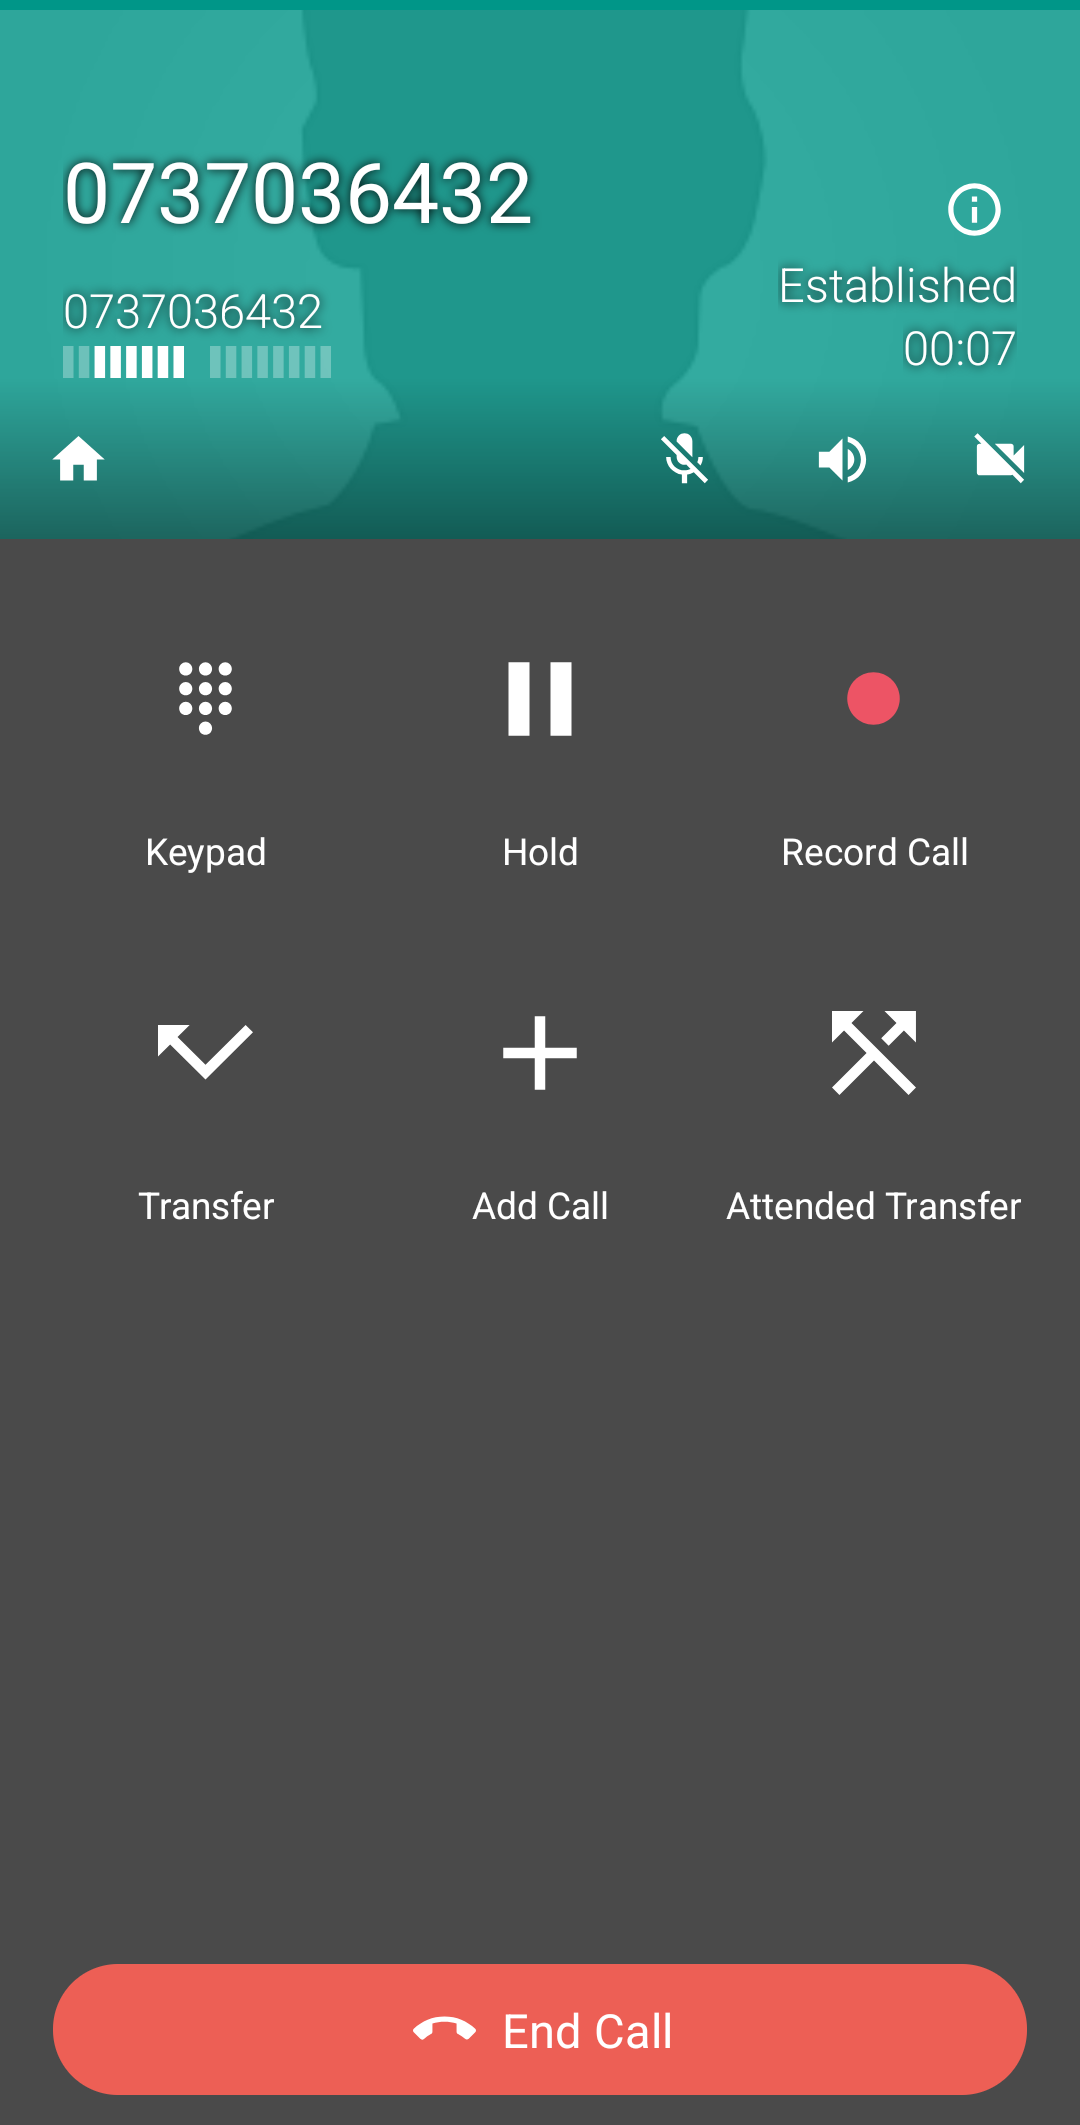
After a successful connection, the call is in progress. The current screen presents the SIP softphone interface, which includes several options for managing the call. However, as mentioned above, the softphone itself must be controlled by the FrontStage system for proper processing. Therefore, do not use the buttons here for transferring, recording, or other actions.
To return to the FrontStage environment, press the button:
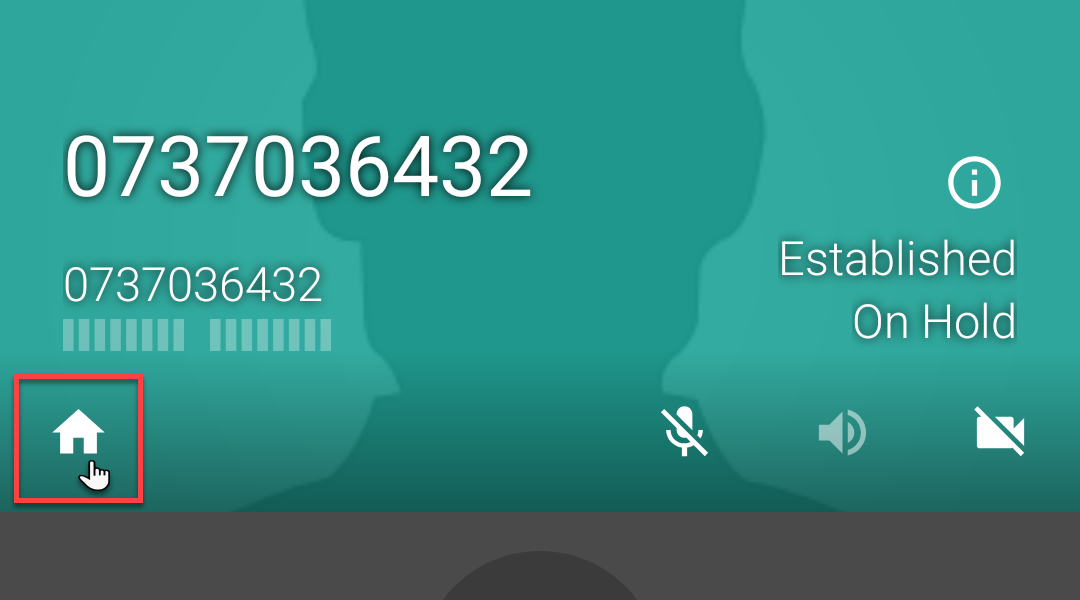
At this point, you have access to all system functions, which are also linked to the current call, allowing you to fully process it.
