Tickets
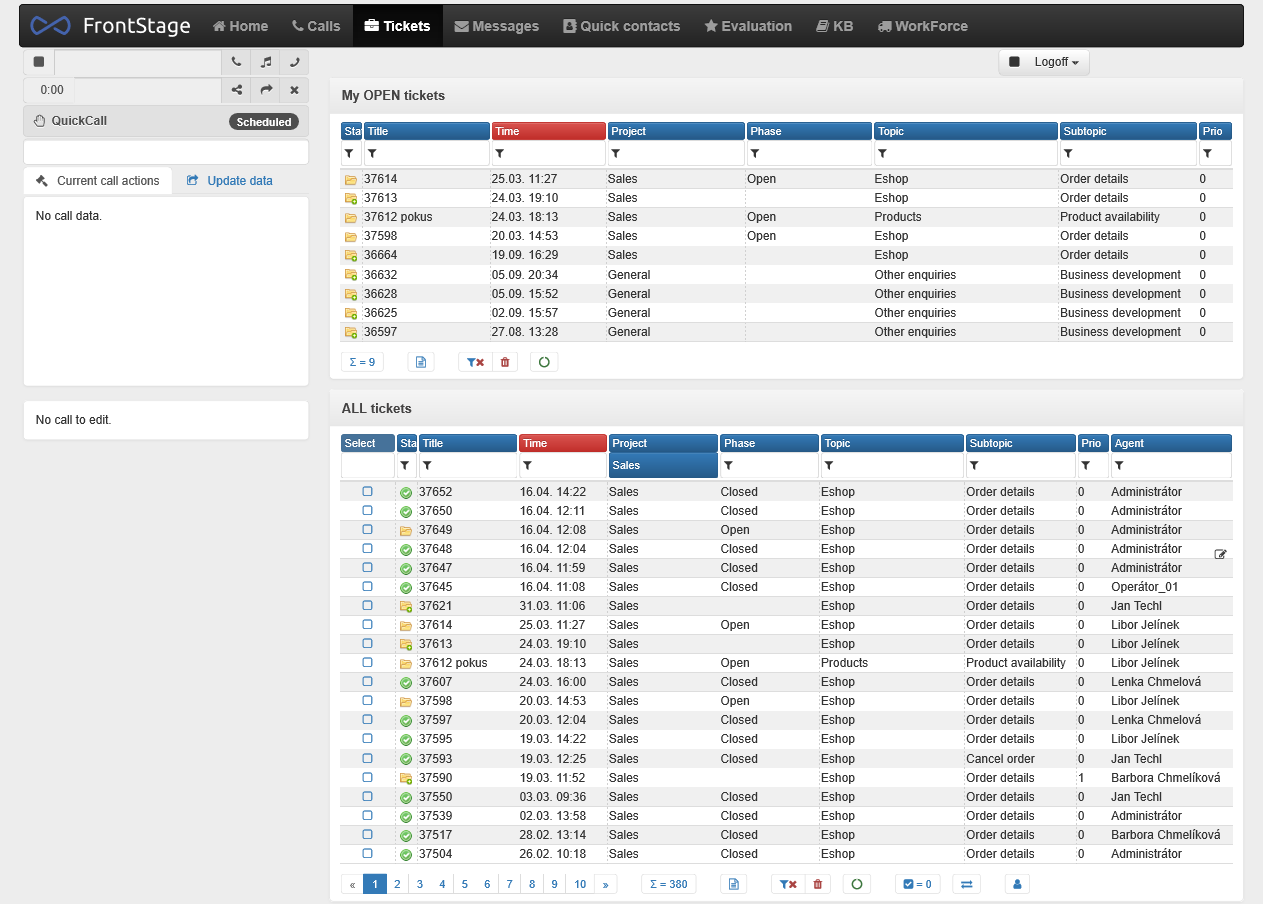
Agents work with issues on the Issues tab. Issues on the tab are usually structured into those for the logged-in agent - their new issues and all their issues, and issues for the entire contact center. An issue combines all types of communication with a given customer concerning a given inquiry or request - calls, messages, chat, SMS, etc.
For example, you can use issues when a customer calls and wants to place a new inquiry. You create it as an issue (specify a topic, subtopic, etc.) so that a record thereof exists. All communication pertaining to the inquiry is combined into the issue and its processing status, called a phase, is monitored (“open”, “waiting for confirmation”, “settled”, etc.).
Note
FrontStage is richly customizable. In particular, phases and permitted transitions between phases are set according to the habits and terminology of the contact center. The specific form and names you will encounter may therefore be different from the examples used.
Open and view
You can open an issue from the list using the icon in the Status column (usually the first or second column).
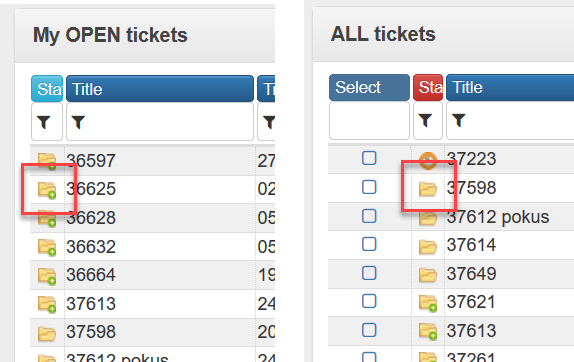
Additional information in the list is often the issue name, time, project, topic, subtopic, handling agent, etc.
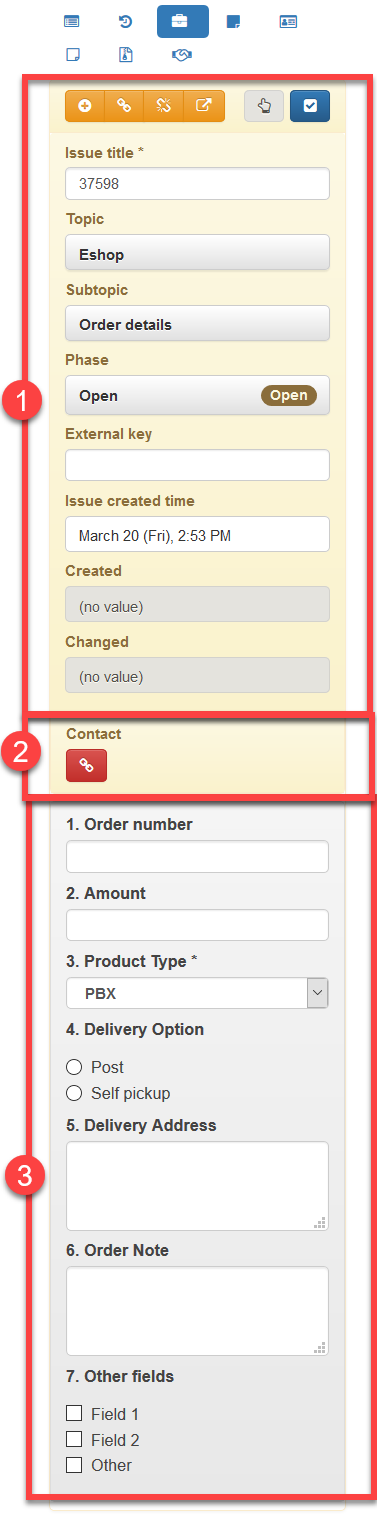
When opened, the issue editor is displayed, structured into several areas:
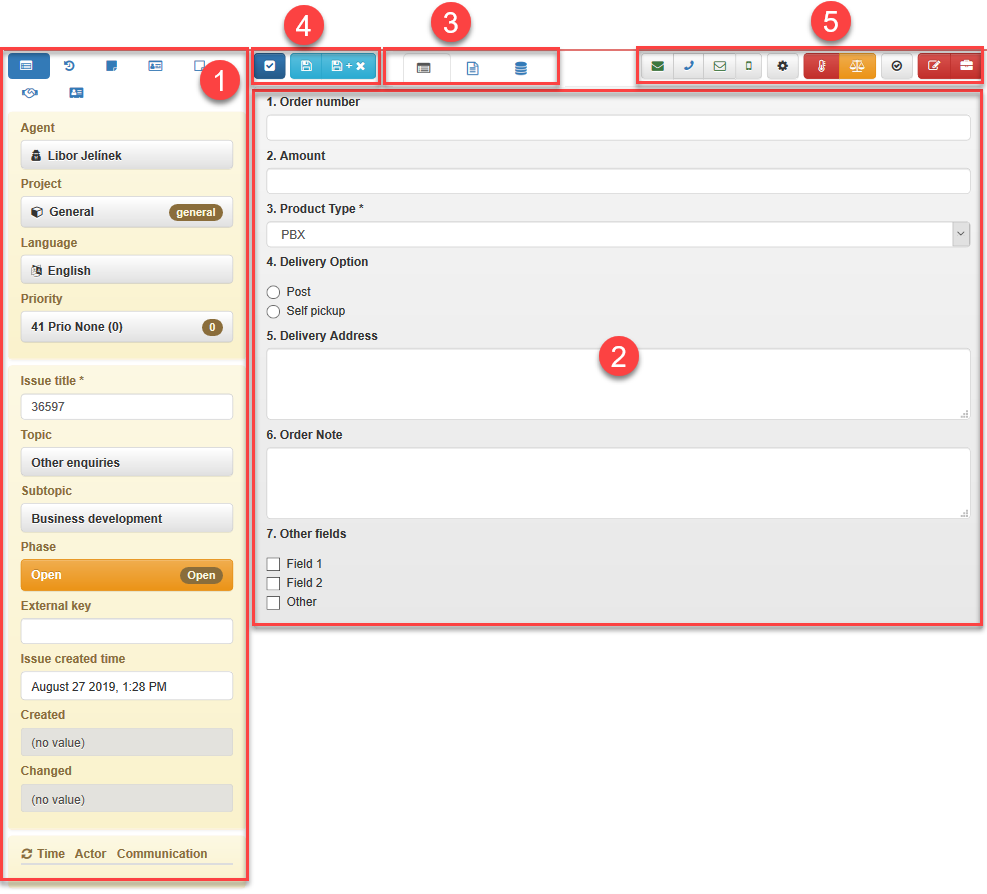
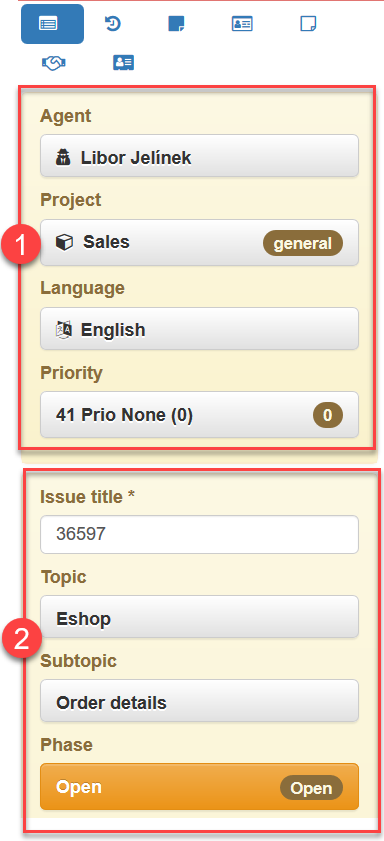
Issue-related tabs ([1]). The first and most important is metadata such as handling agent, project, language, issue name, topic, subtopic, phase and more.
The largest part of the editor in the sample is taken up by the form ([2]) because its tab ([3]) has been selected, but there can be a data query or an HTML notepad editor as well.
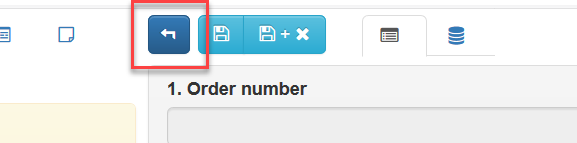
Use the buttons at the top left ([4]) to mark the issue as completed, save changes, save and close the editor.
The available tabs ([1]) may vary. Among the most important are the following:
The Info tab displays general metadata such as the handling agent, project, language ([1]), and issue information such as title, topic, subtopic, phase, and more ([2]).
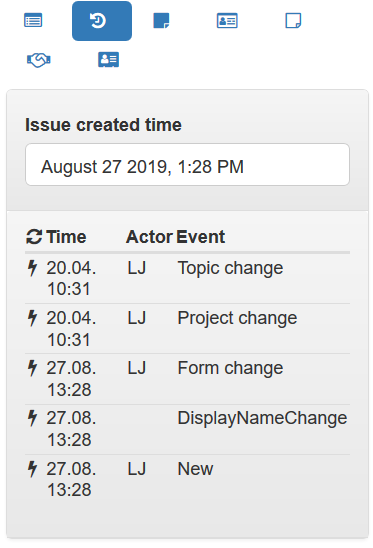
The History tab is an overview of changes in the issue with time and the change author.
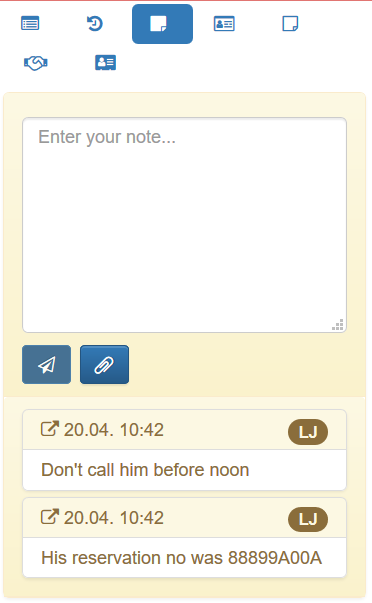
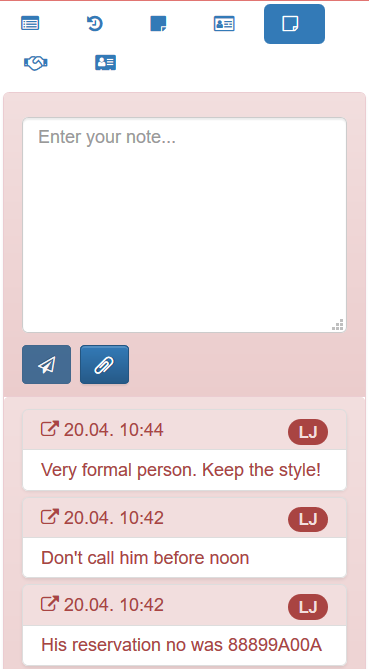
The Issue notes tab allows you to enter important internal issue notes, such as an identification number in another system, the current status for a colleague in tomorrow’s shift, etc. as plain text (without formatting) with an attachment.
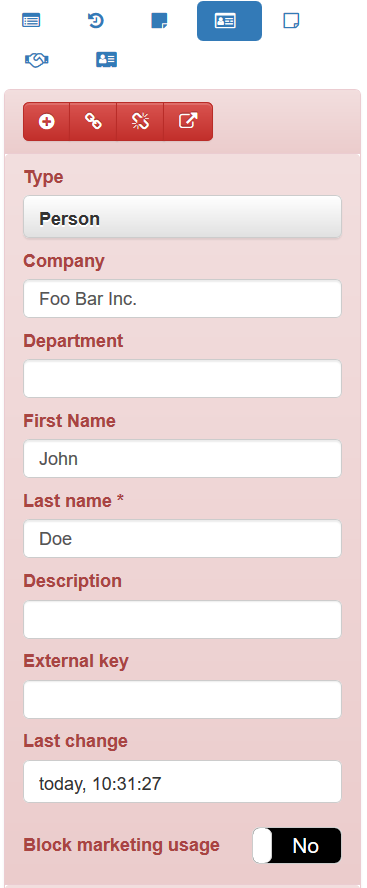
The Issue contact tab is used to view or select an issue contact. In most cases, it is the person or customer for whom the request is being processed.
On the Issue contact notes tab, you will see the notes linked to the issue contact along with the issue notes.
Topic, subtopic and phase selection
The Info tab shows common metadata:
[1] - assigned agent, project, language, etc.
[2] - issue info, like it’s name, topic, subtopic, phase, etc.
General metadata is the same as with other types of communications. However, by means issue conditions, the project, agent, and language influence which topics (and thus subtopics) you can select. Therefore, when you change general metadata, you must save the issue editor.
Topic settings allows you to choose, whether form, data grid, HTML notepad or nothing will be displayed.
Phase selection can be influenced by allowed phase transitions
Note
These restrictions are set when deploying FrontStage to match the issue areas and how they are handled in the contact center.
Creating an issue without any prior communication
You can create an issue either from the editor of another communication (call, message, …) or separately without any previous communication. Separately created issues can be left without associated pieces of communication, but more often you later assign related communication manually or automatically.
If you need to create a new issue that is not going to be associated with any communication, follow the steps below.
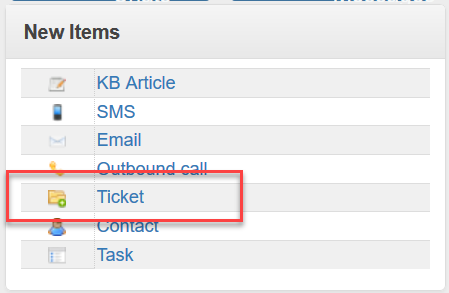
Creating an issue is possible from the Home tab (not from the Issues tab!)

On the Home tab you will find a link to a new issue (it can be called differently according to the customer’s preferences).
The newly opened window is the same as in Opening and viewing an existing issue.
Creating or associating an issue from another communication
Issue can be created either from other communication (call, message, chat) or separately without previous communication. The advantage of creating the issue from different communication is that it’s already connceted to that communication.
If it is not a new request but a continuation of another, the existing issue should be found and associated with the communication.
In the call, message and chat editor, you can create and associate an issue. The procedure is the same for all types of communication and you can perform it on the Issue tab of the given communication.
In the communication editor, find the Issue tab (usually the third tab).
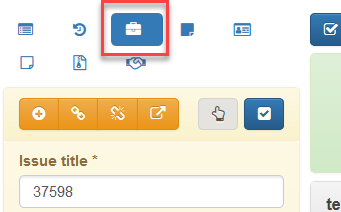
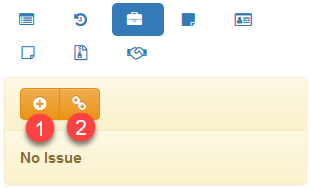
Content of the tab differs according to if the connected issue is present. If not, you can create a new one and connect it [1] or find an existing one and connect it [2]
If the issue is already assigned, tab contains a lot of information - issue [1], issue contact [2], there can be also a form relatining to an issue or topic.
The buttons at the top of the Issue tab have the following meaning:
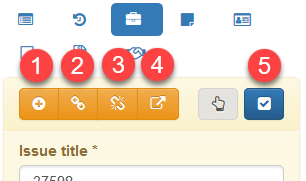
[1] Create a new issue. A new issue will be associated (assigned) instead of the existing one.
[2] Find and associate another existing issue.
[3] Disassociate this ssue. The message remains without an associated issue.
[4] Opens the issue in a new window.
[5] Saves and closes the issue.
Closing and reopening an issue
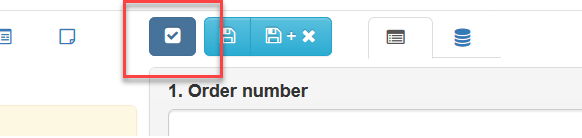
When the issue has been resolved, you can close it. Use the button at the top left.
If you need to work again on an issue that has already been closed, you can reopen (reactivate) it.
Note
Only supervisors are usually authorized to reopen an issue.
Settings
You can adjust the behavior of the issue window, which will be effective only for your account. You can open the settings from the issue editor, by clicking the “cog” button.

Important
The settings is not available by default. To use it, you have to have appropriate permissions.
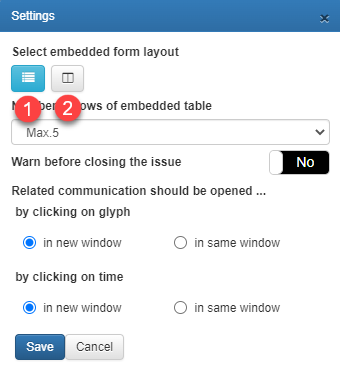
Available settings
Select embedded form layout - options switch: Form organized as one column containing all sections [1] and Form organized as one column containing single section with section tabs [2]
Number of rows of embedded table - for grids inserted as an additional editor subtab
Warn before closing the issue - prompt before closing