Onboarding
The visual Onboarding editor is a tool for the supervisor (or admin) to manage onboarding invitations accros your Frontstage installation.
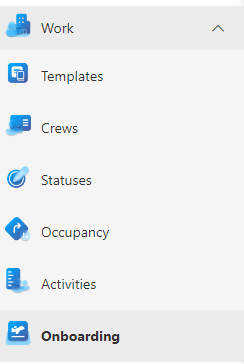
The editor can be found in Frontstage administration, section . You need the EditOnboarding role.

The running editor displays a list of all the invitations which were not deleted. It is also filled with a result of the data query. Its ID is in the OnboardingAdminQueryId configuration parameter.
In the upper right corner there are buttons for interacting with the records:
Cancel invitations - Bulk operation. Voids the flaged invitations, so that even if the user uses the link, it no longer leads to a login.
Clear list - Clears all invitations in the list.
How does the onboarding work?
This process simplifies the rollout of new users to the system.
Use the visual editor Agents to create new accounts. For recruitment purposes, you must fill in at least Name and Email.
In the Agents visual editor list, there are Invite Desktop and Invite Web buttons. Each button sends an invitation for a different type of application.
Invitation for Web - Login for web applications like ReactClient or TeamsClient
Invitation for Desktop - Login for DesktopClient
In the list, mark the agents to which you want to send the invitation and then press the button of your choice.
An invitation is sent to the email addresses specified for the selected agents in the language they have set in their profile (customizable and localizable for each type).
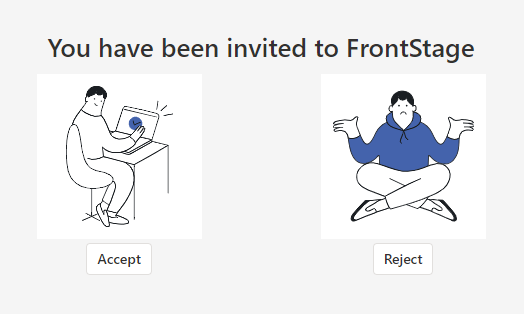
Web invitation example:

Note
You can edit the email text using the
LiteralLookupdatabase table, whereLiteralGroup = 116.The user clicks on the link, which takes them to the recruitment page where they can accept or decline the invitation

If he accepts, he is automatically redirected to the application index page and already logged in. He does not need to fill in any additional information.
Onboardings list
Time local - The time the invitation was generated in the system.
Type - Specifies the type of application the user can log in to using the link.
Invitation for Web - Login for web applications like ReactClient or TeamsClient
Invitation for Desktop - Login for DesktopClient
Agent - The name of the agent for which the invitation is intended.
Personal email - An invitation was sent to this email.
Personal phone - the phone filled in the agent’s profile.
State - Represents the state that the specific invitation is in. The state changes during processing.
New - An invitation was created in the system but has not yet been sent.
Waiting for processing - Email has been delivered, but the user has not yet selected accept/reject from the actions
Failed to send - The invitation email was not delivered.
Accepted - User has opened the link and accepted the invitation (see step #5 above)
Rejected - User opened the link but declined the invitation (see step #5 above)
Expired - The user did not process the invitation by the date specified in the Expiration column.
Cancelled - Action using the Cancel invitations button.
Duplicate - The login credentials associated with the invitation already exist in the database for another agent. This invitation cannot be used.
Done - The invitation led to the successful login of a new user to the system.
Note
The state names can be localized using the database table
LiteralLookup, whereLiteralGroup = 144.
Expiration - Date/time until which the invitation is valid. After that, it will automatically go to the state “Expired” and the link will no longer lead to the login.
Note
The agent’s name, email, and phone are information pulled directly from the agent’s profile, which you can edit using the Agents visual editor.
Cloud vs On-premise system installation
If FrontStage is installed in the cloud, it typically uses Deployment Server for onboarding purposes, where the distribution services run.
In the case of an “on-premise” installation (own local server), it is necessary to set the configuration parameter:
For ReactClient / TeamsClient -
OnboardingSendStrategyJson. It sets the connection to the SMTP server that sends onboarding invitations.For DesktopClient -
OnboardingStrategyJson. It sets both the connection to SMTP and the application configuration.